| View previous topic :: View next topic |
| Author |
Message |
dukebradbury

Joined: 13 Oct 2009
Posts: 185
Location: Spokane 5-mile
|
 Posted: Sun Aug 07, 2011 8:25 am Post subject: 1965 VW 13W Deluxe Posted: Sun Aug 07, 2011 8:25 am Post subject: 1965 VW 13W Deluxe |
 |
|
Just wanted to start a thread on the progress of my bus. Any comments or suggestions are greatly appreciated, as this is my first attempt at body work.
Here it is right after yarding it out of the field.
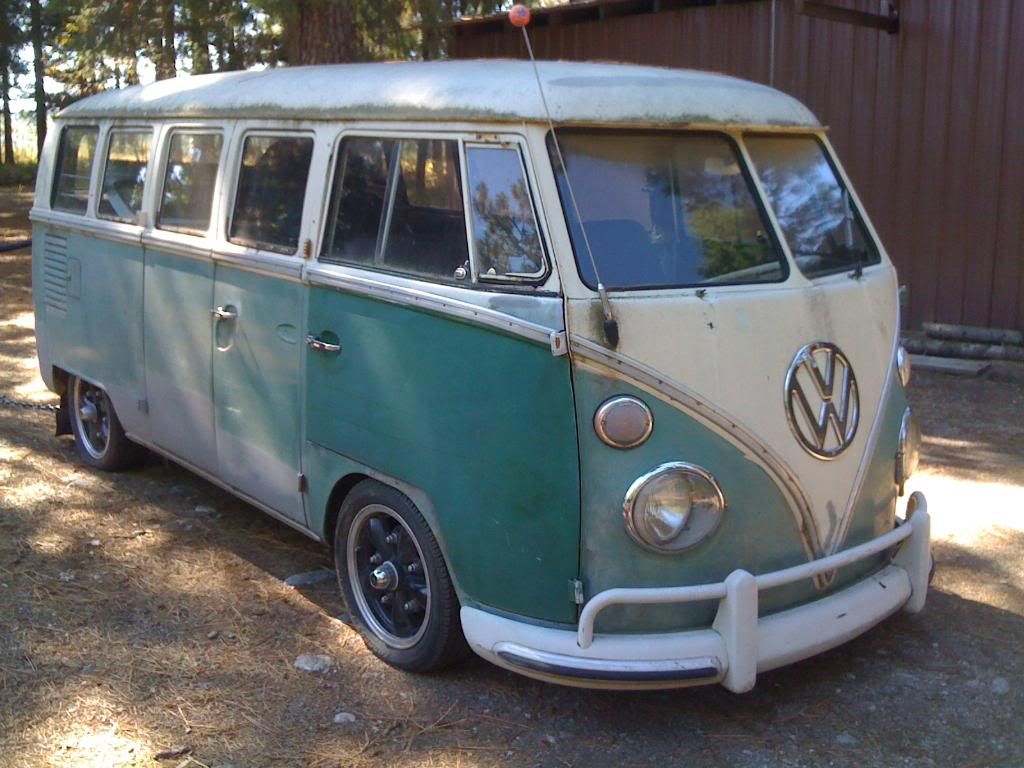
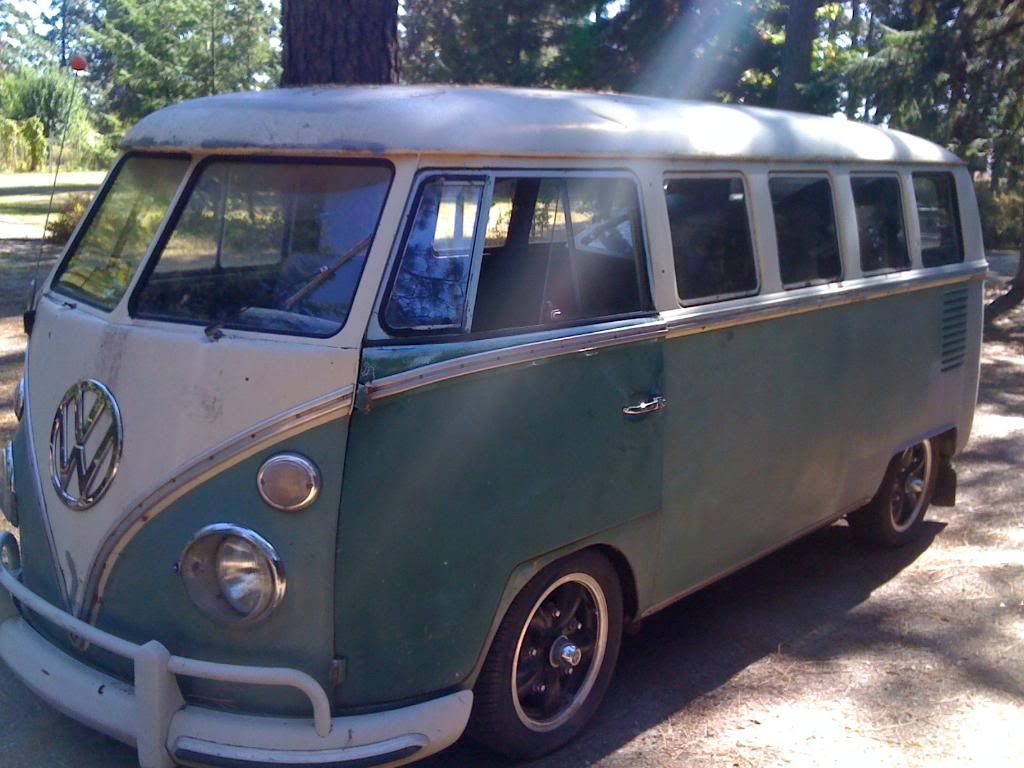
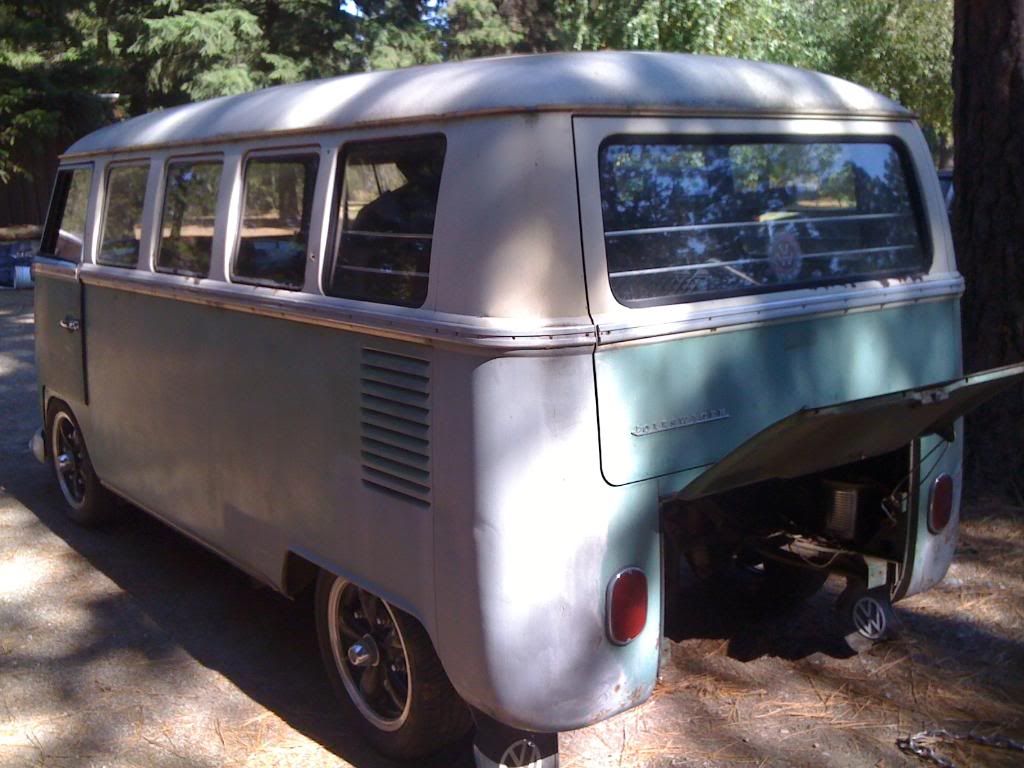
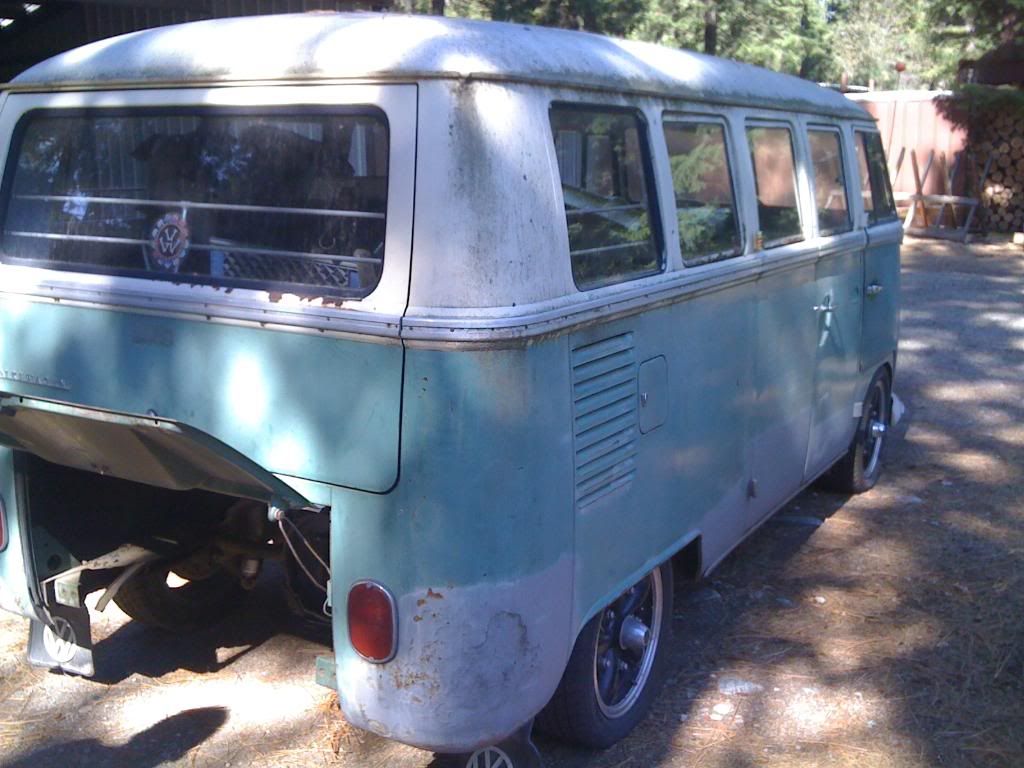
At home
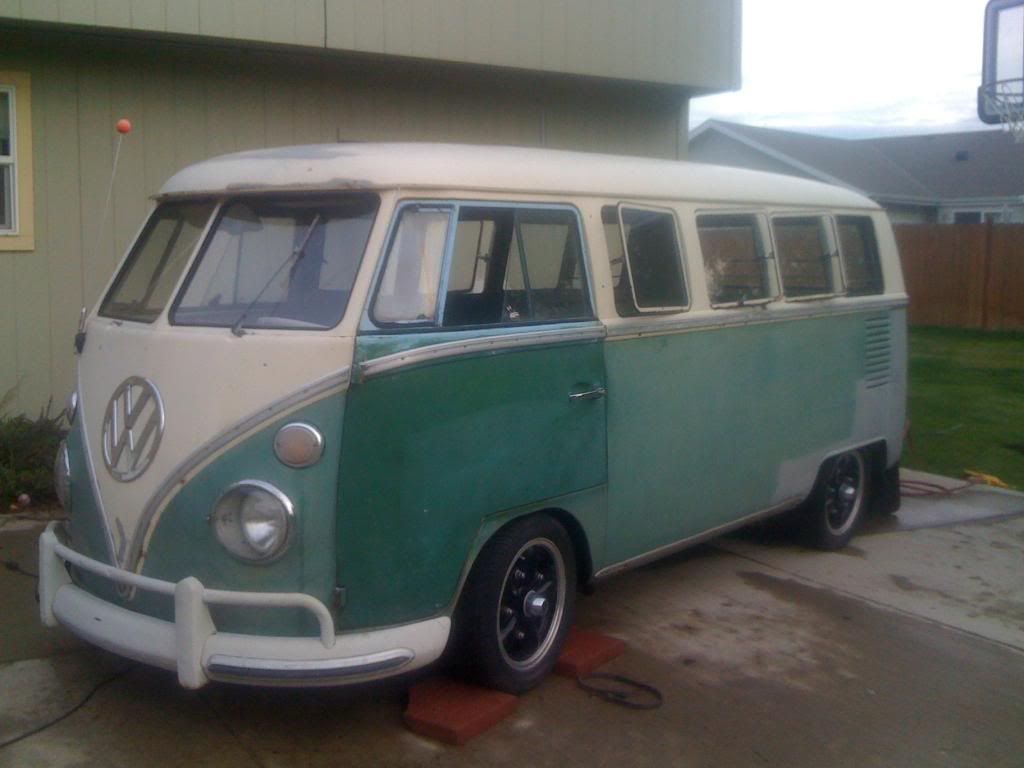
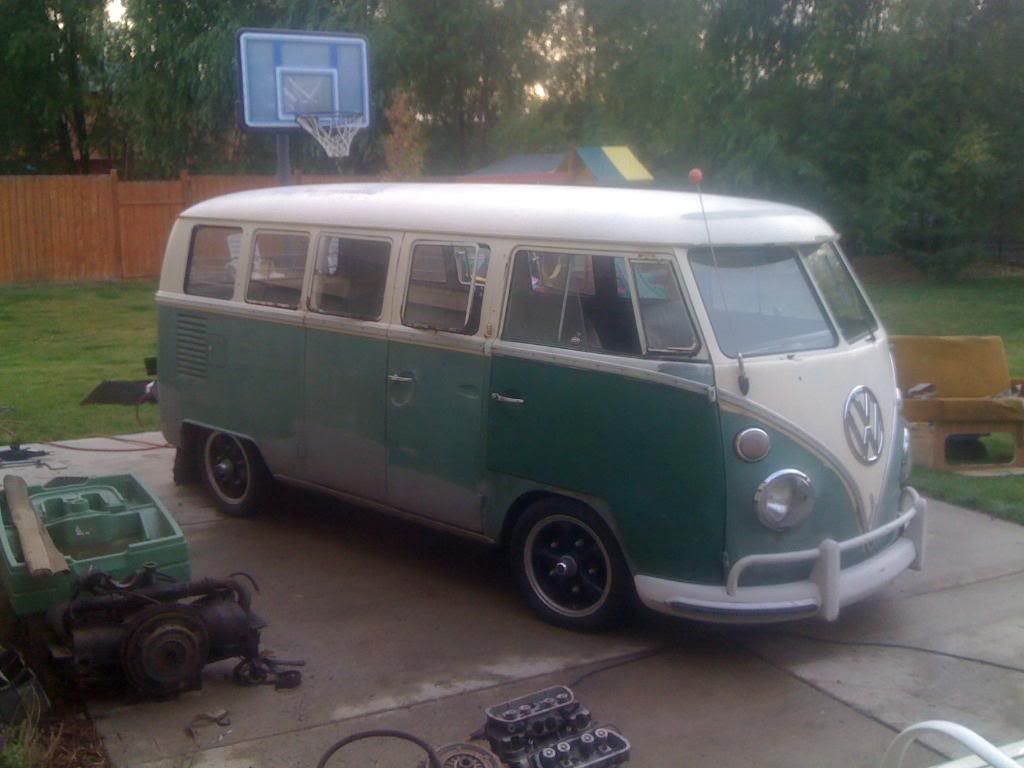
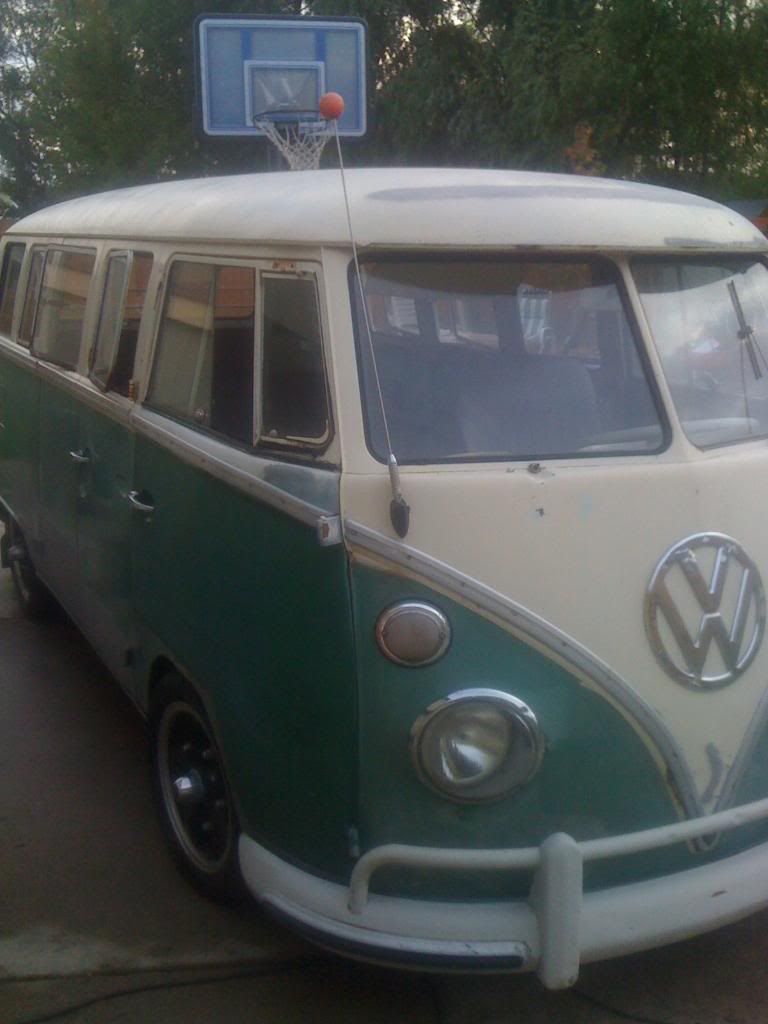
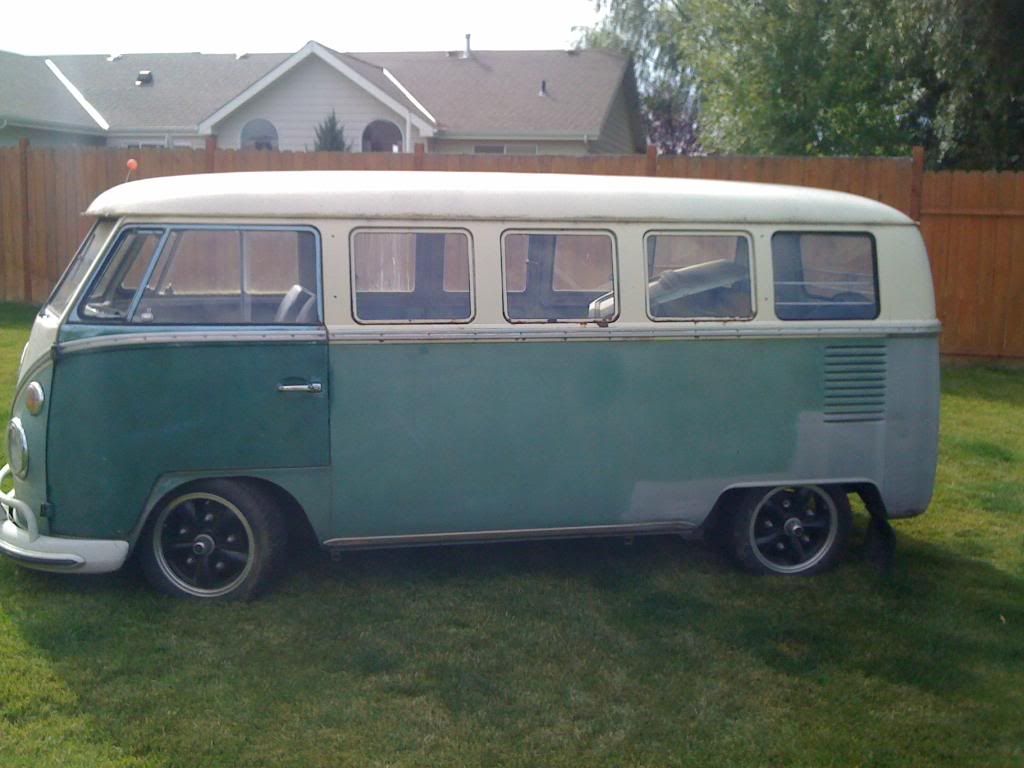
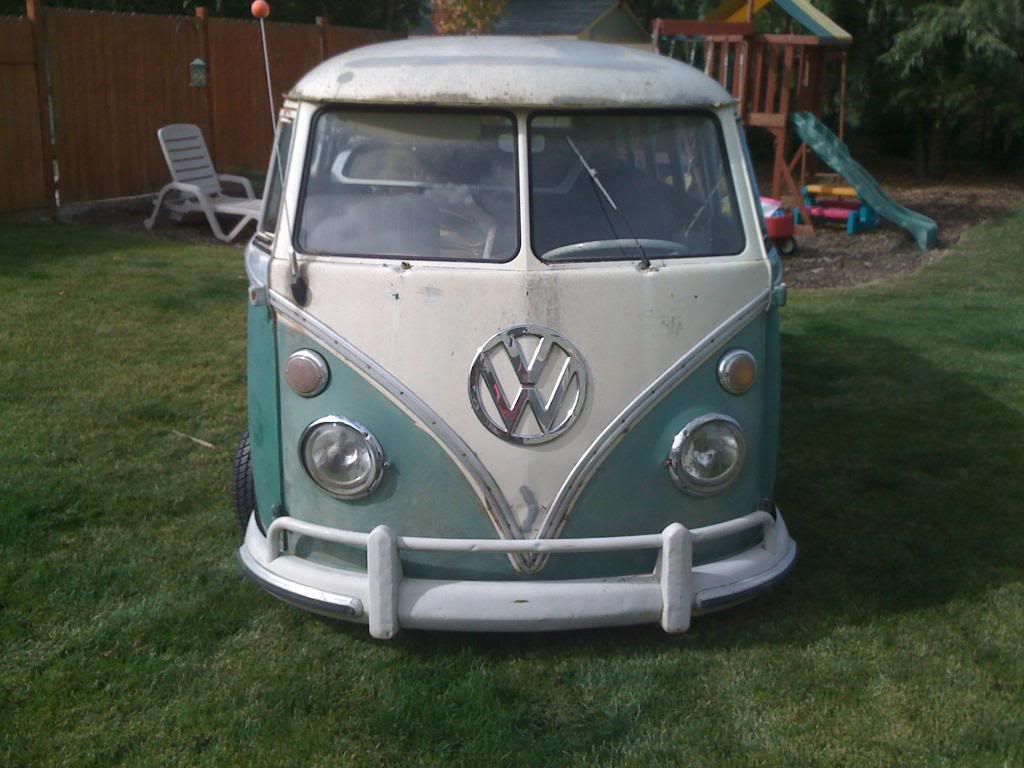
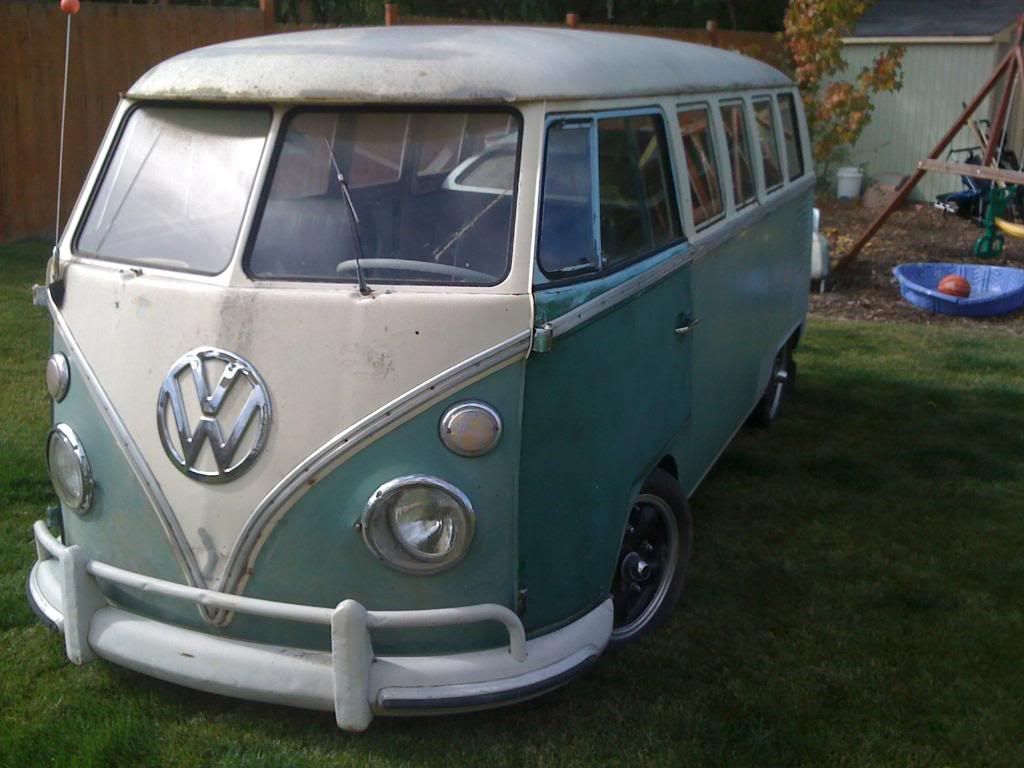
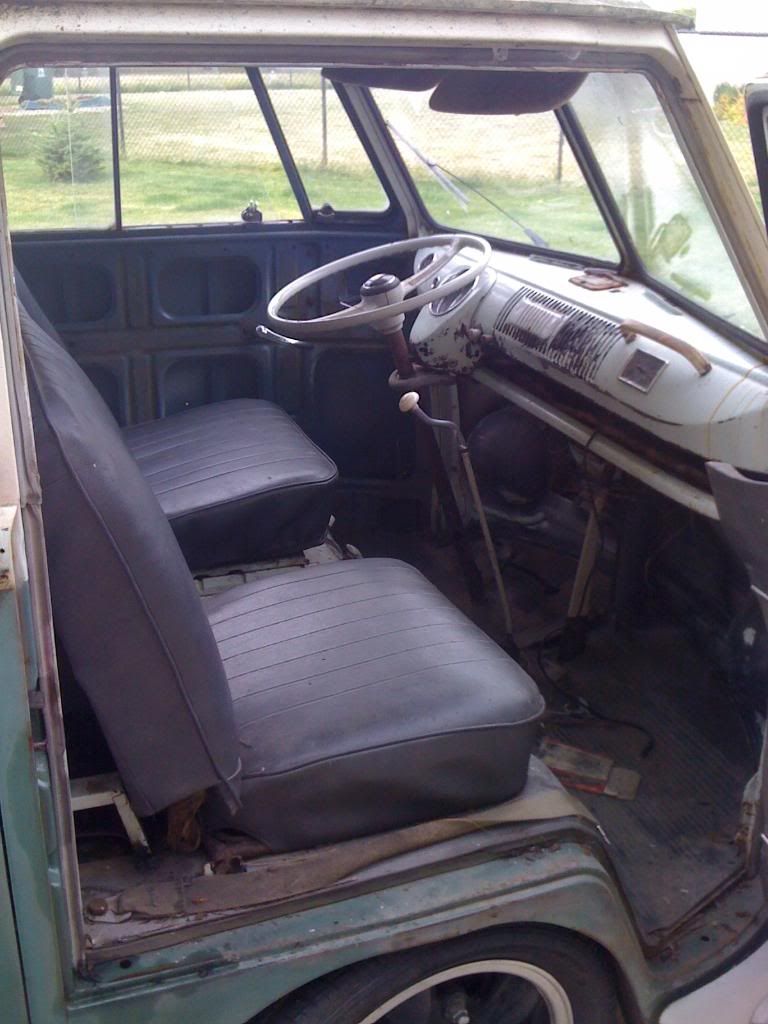
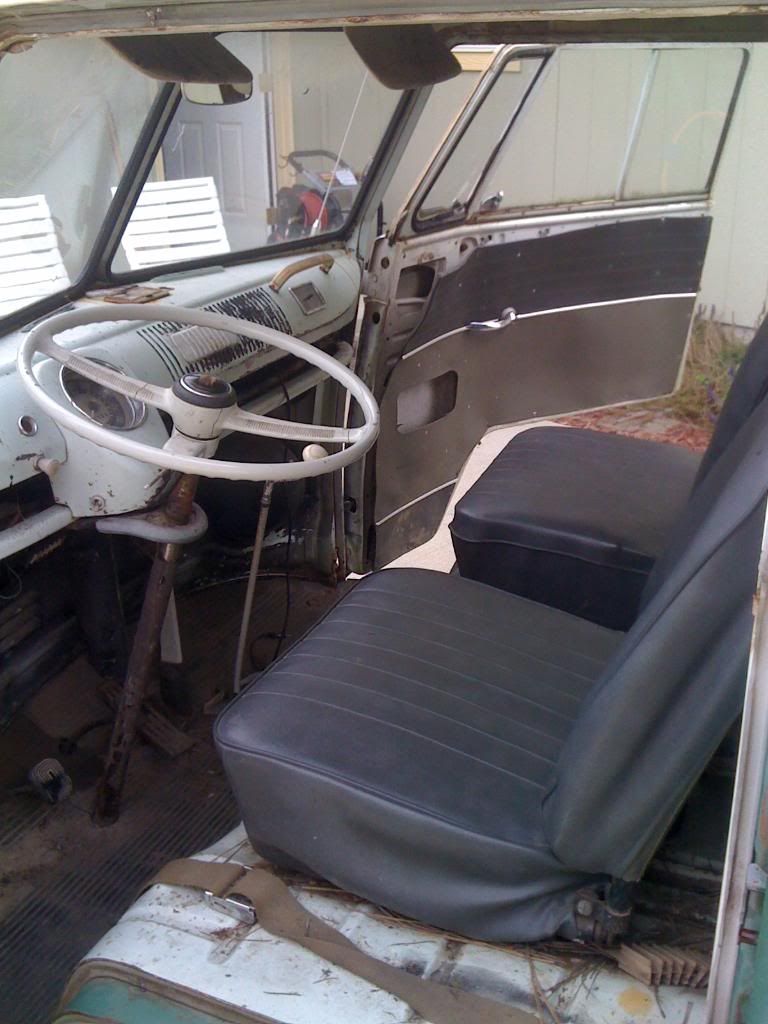
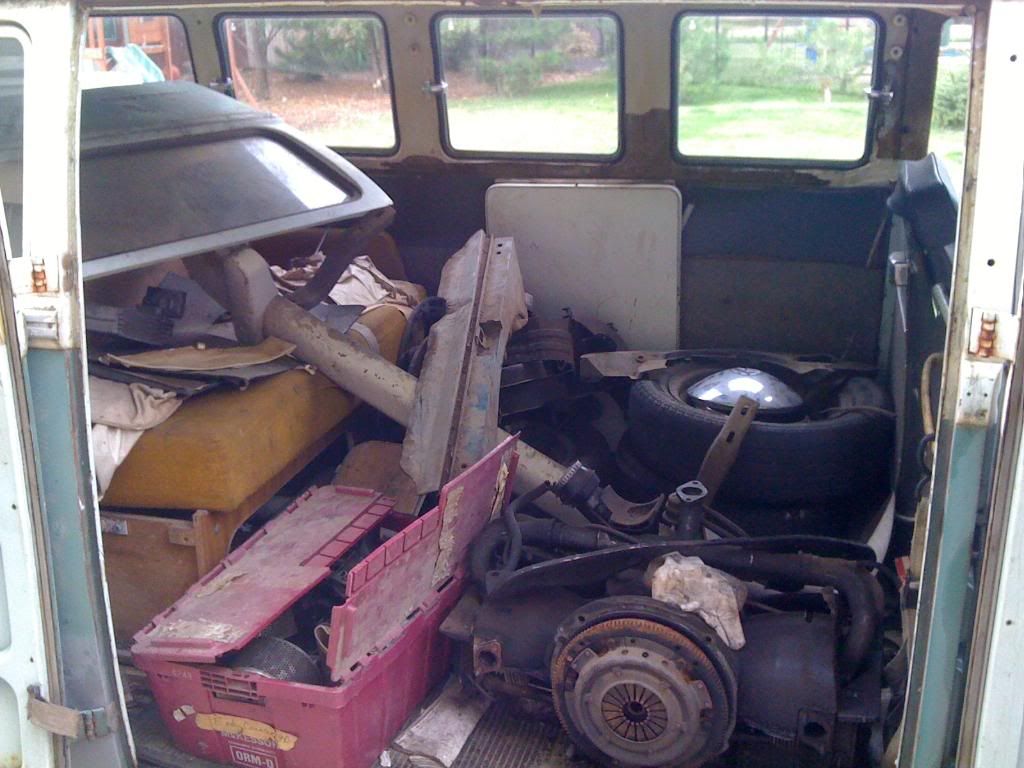
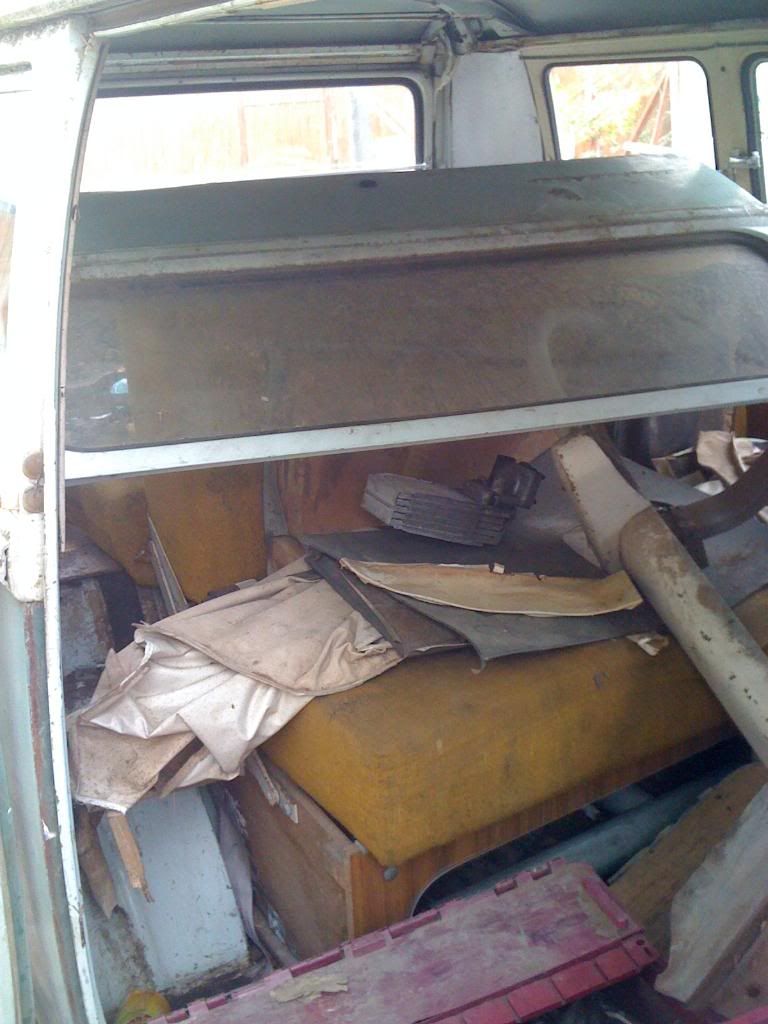
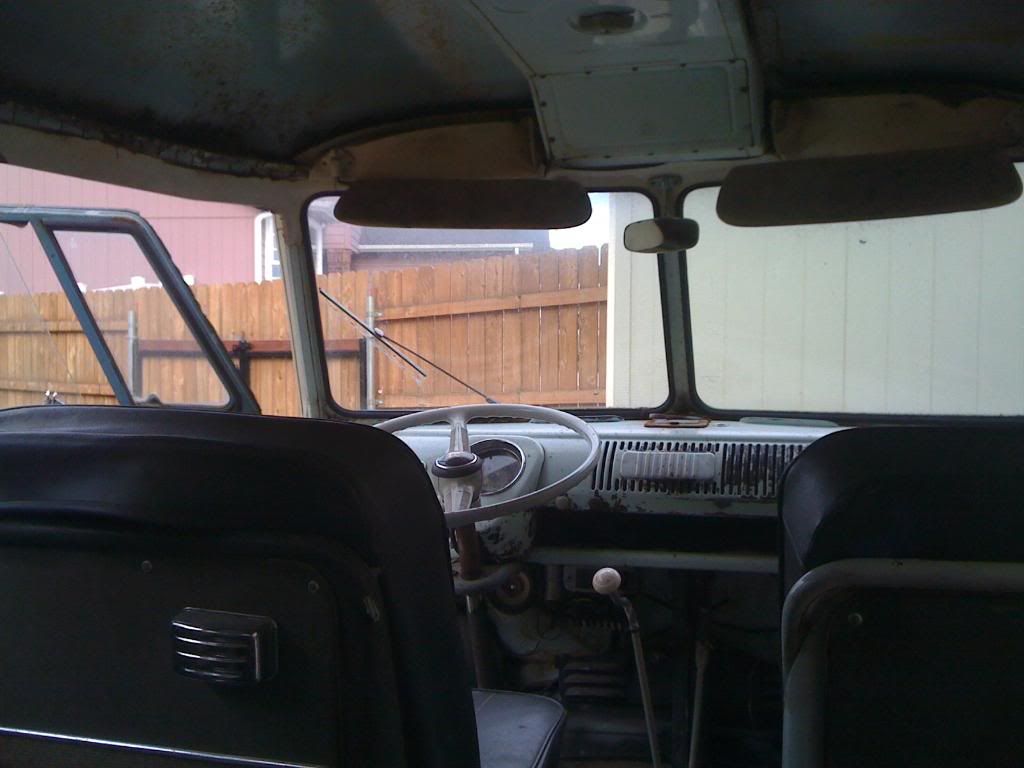
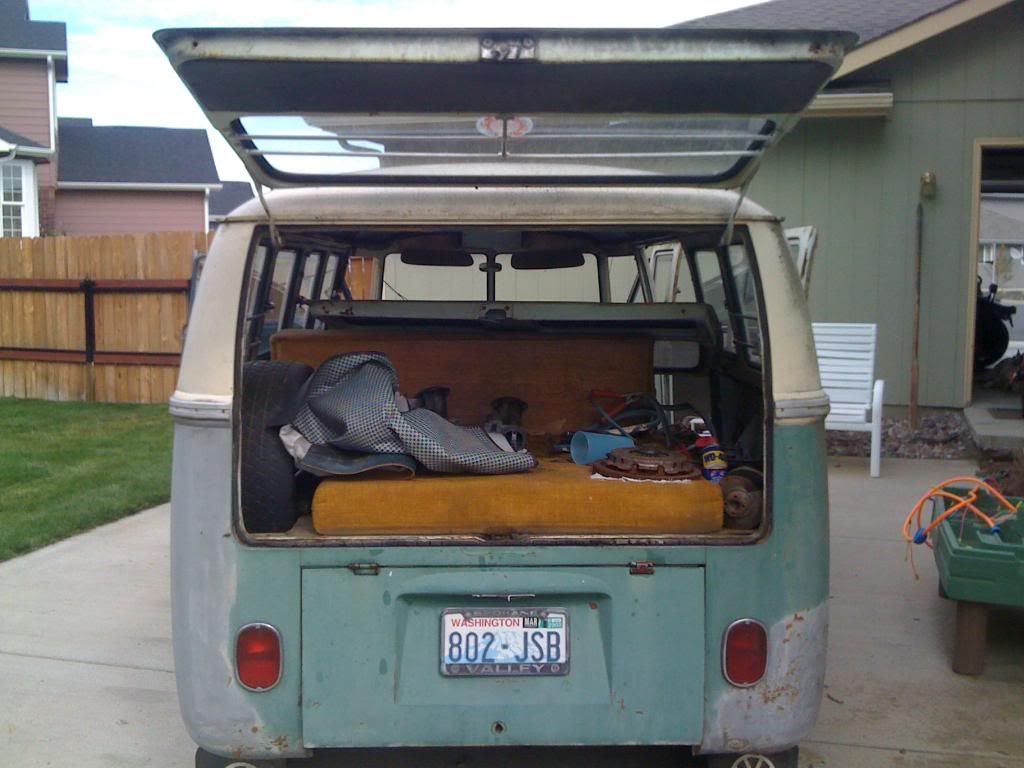
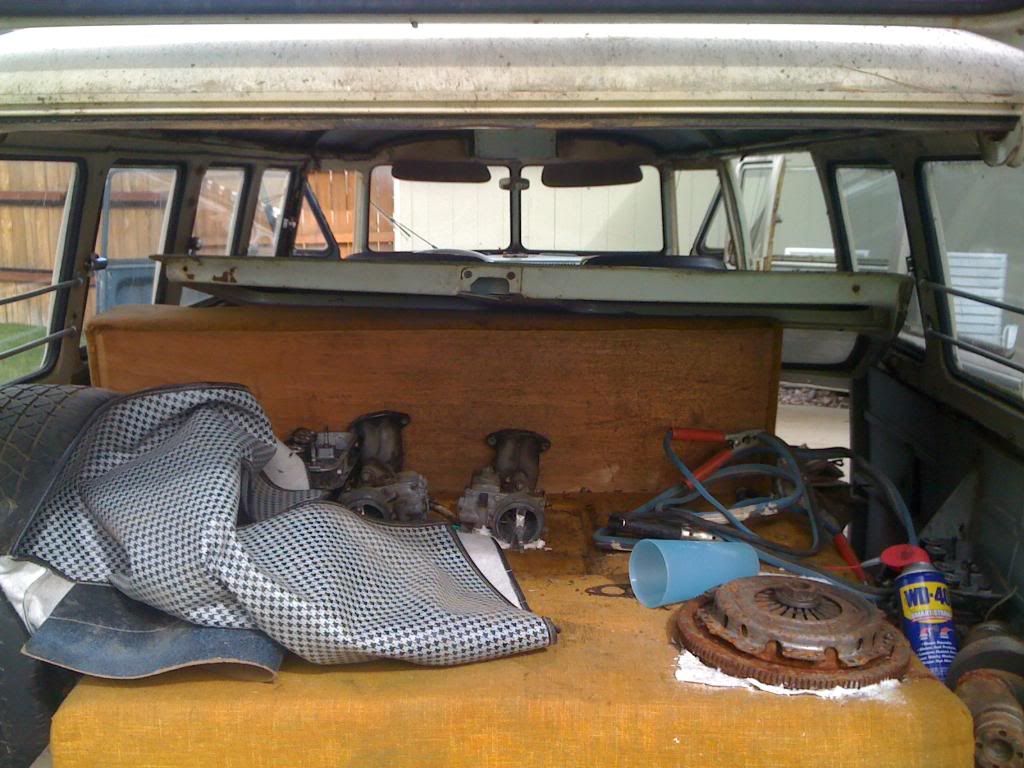
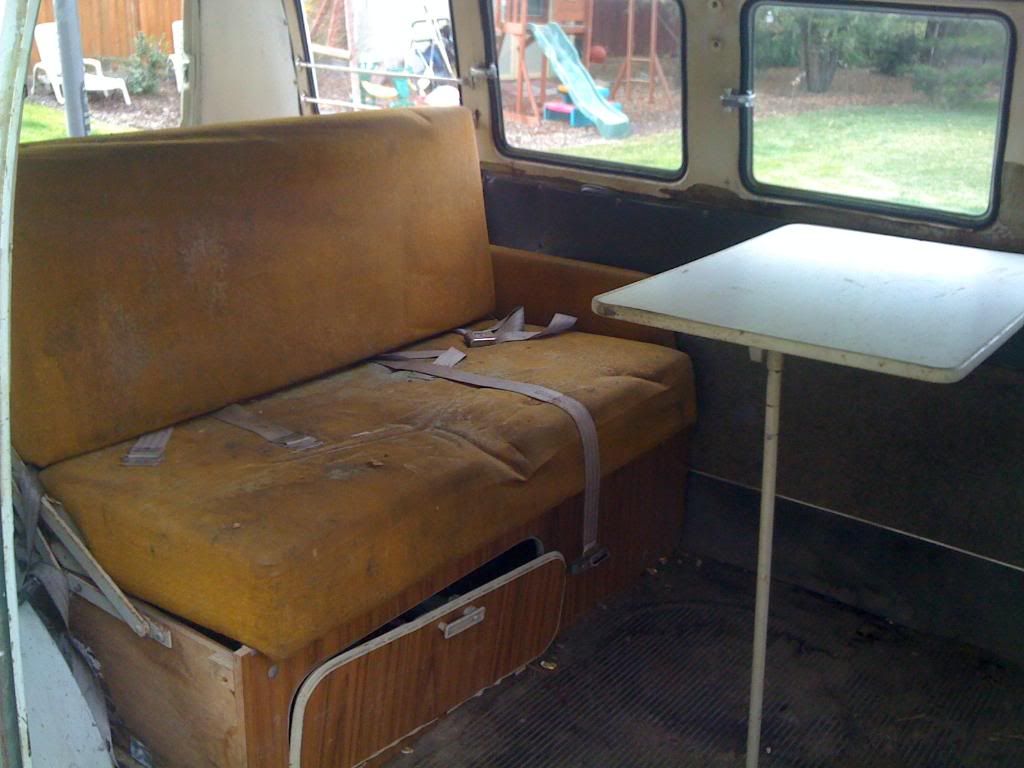
After a little cleaning!!!It sure needed it after sitting in a field for 10 years!!
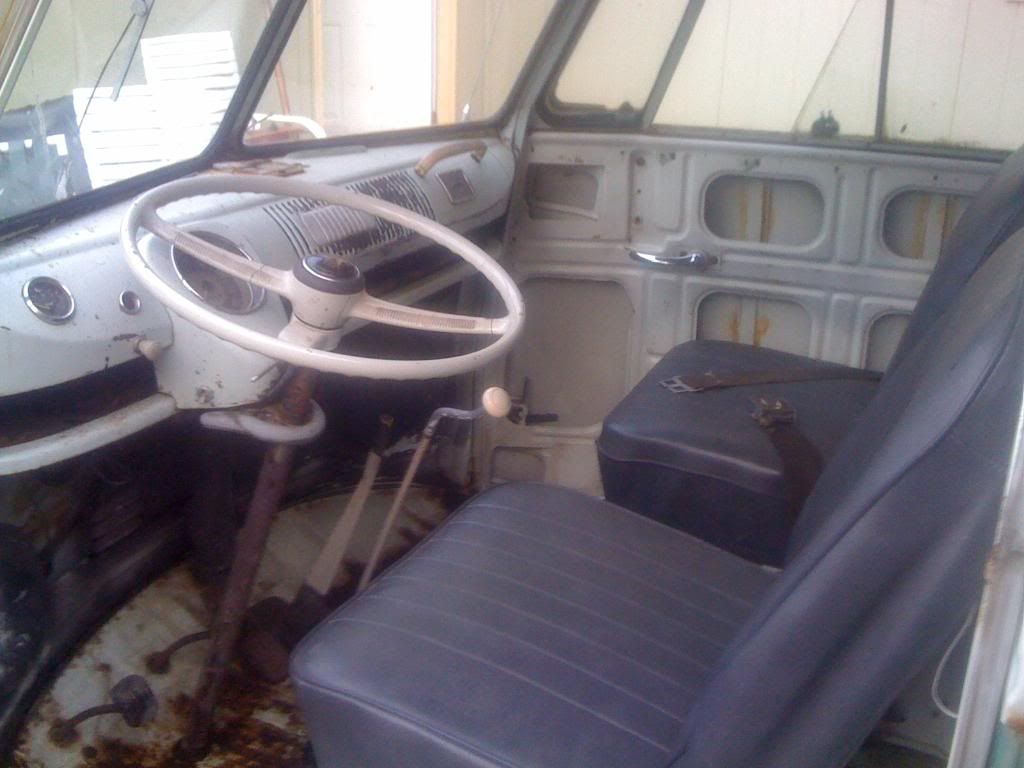
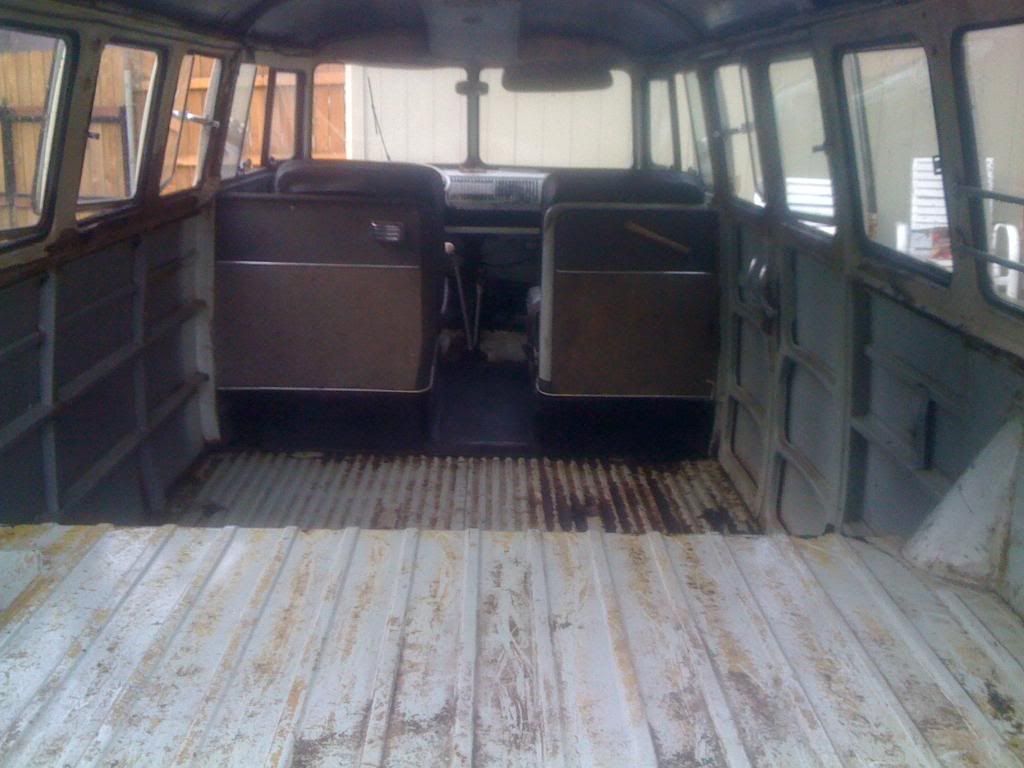
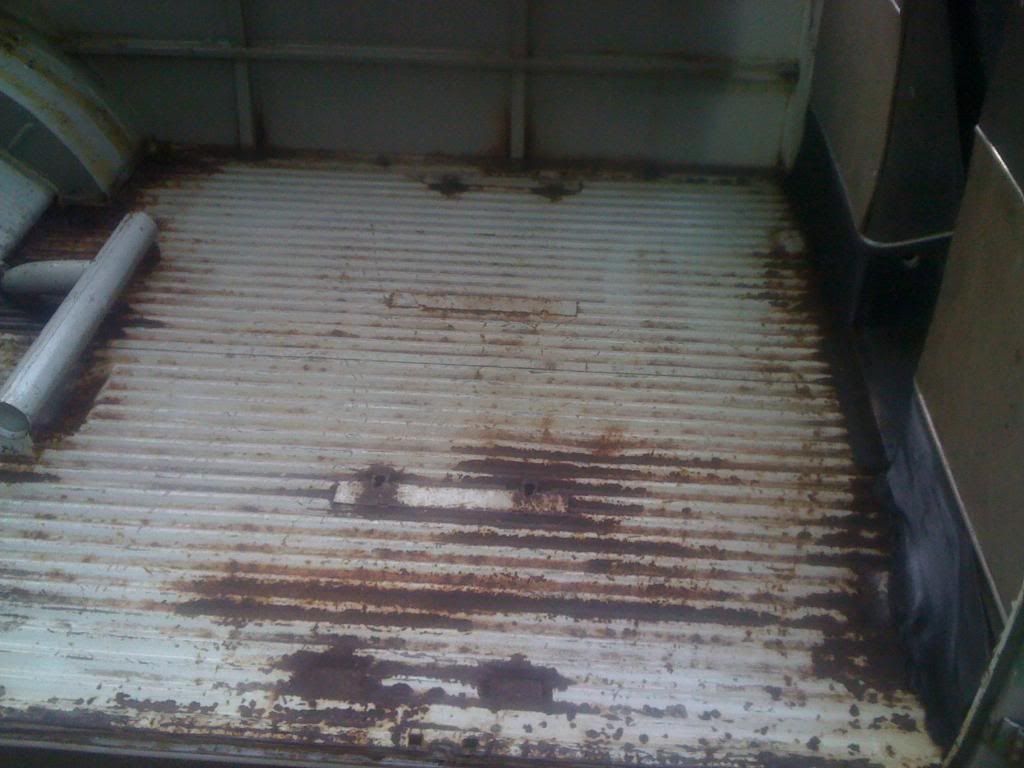
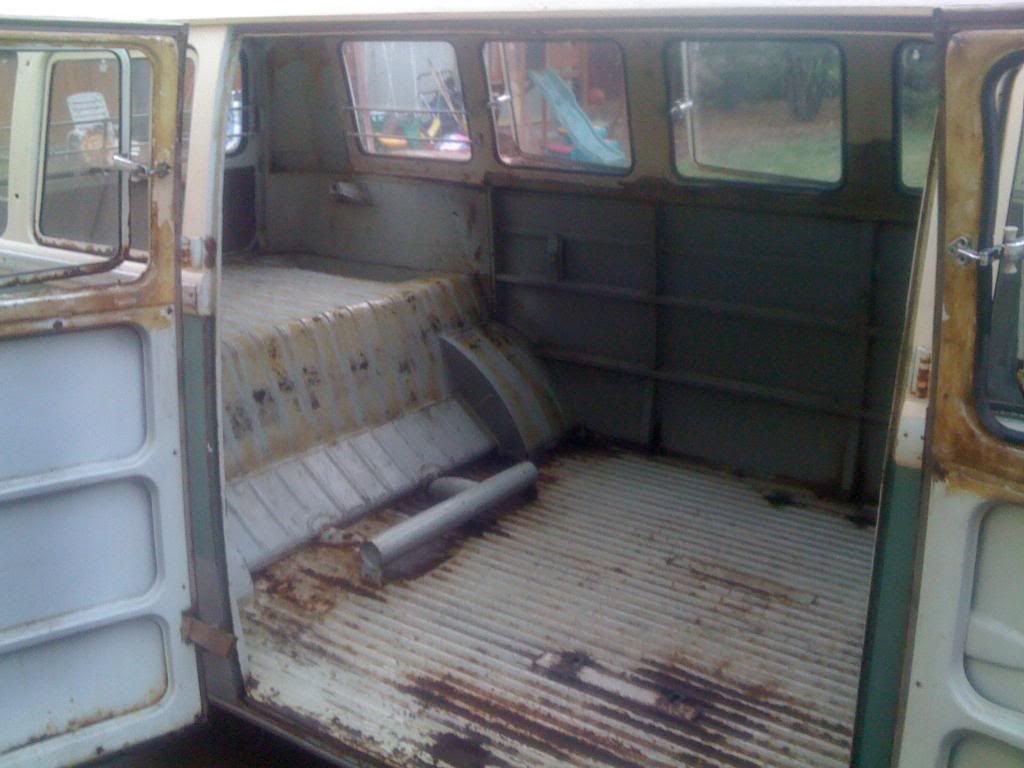
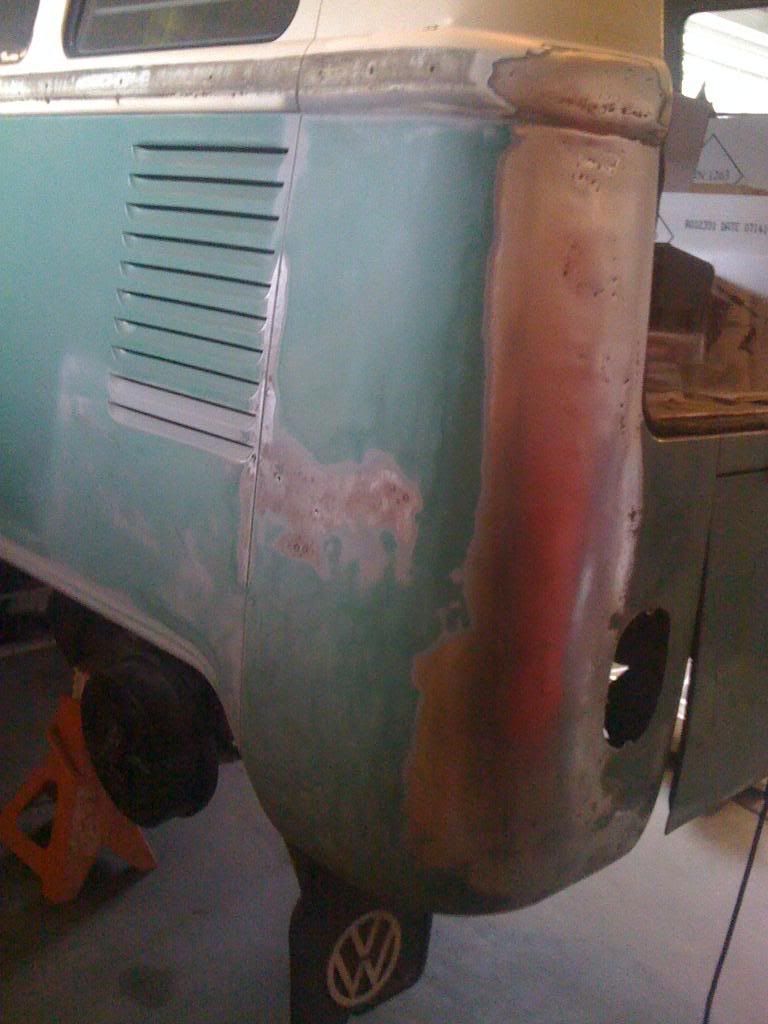
Left rear corner repair. This is my very 1st attempt at body work, and welding sheet metal! After turning off the "autoset" feature on my Millermatic 180 and dialing in the welder manually I was able to get the hang of it.




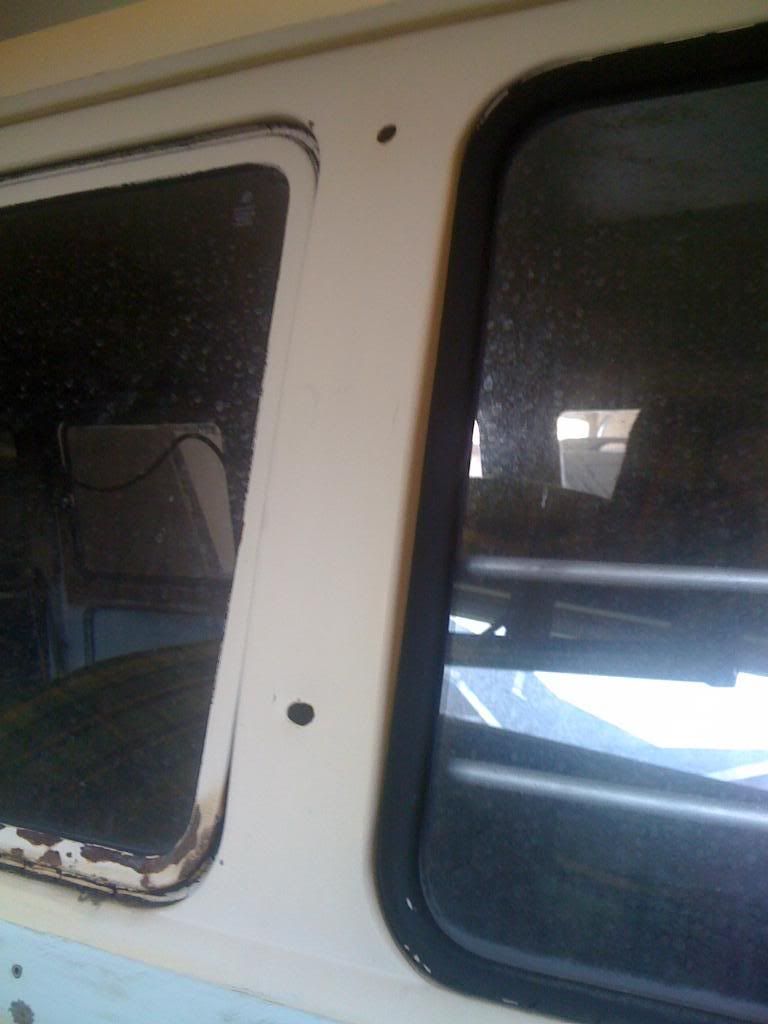
Mounting hole repair. Does anyone know what these were for?
There were four each side.

Patch repair method. Tried this after my 1st "fill in" attempt that didnt go so well.


Fill in method. Second attempt after getting the hang of welding sheet metal.
This is the end result 
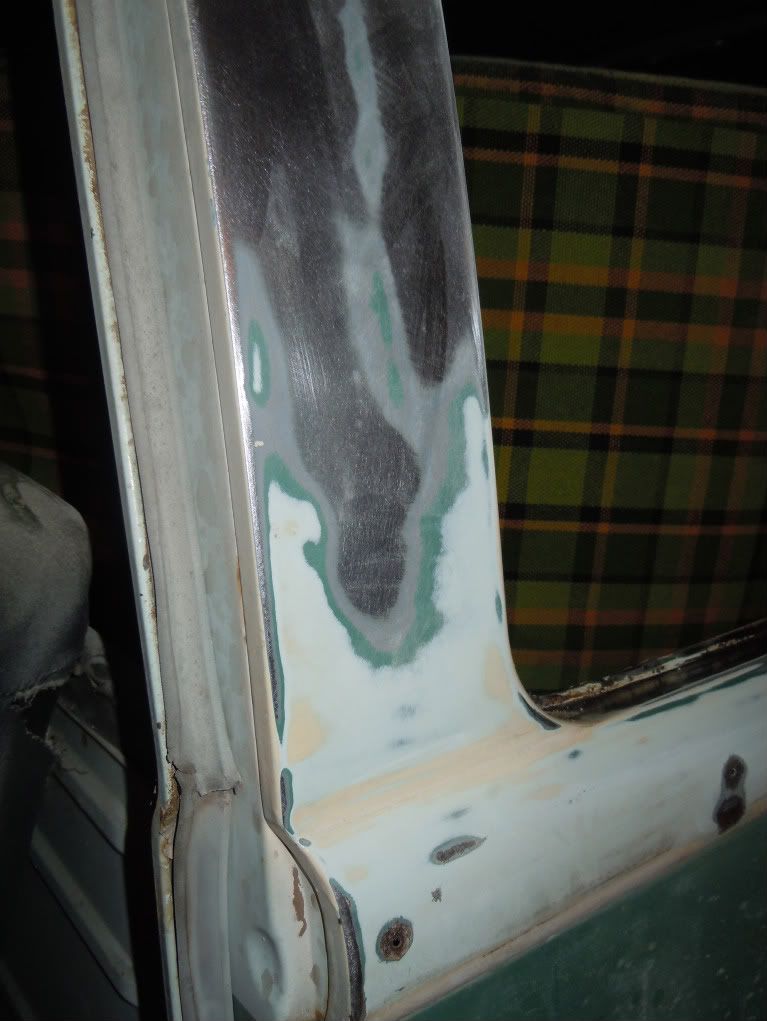
Had some rust right above the drivers window. Some creature had made it his home.
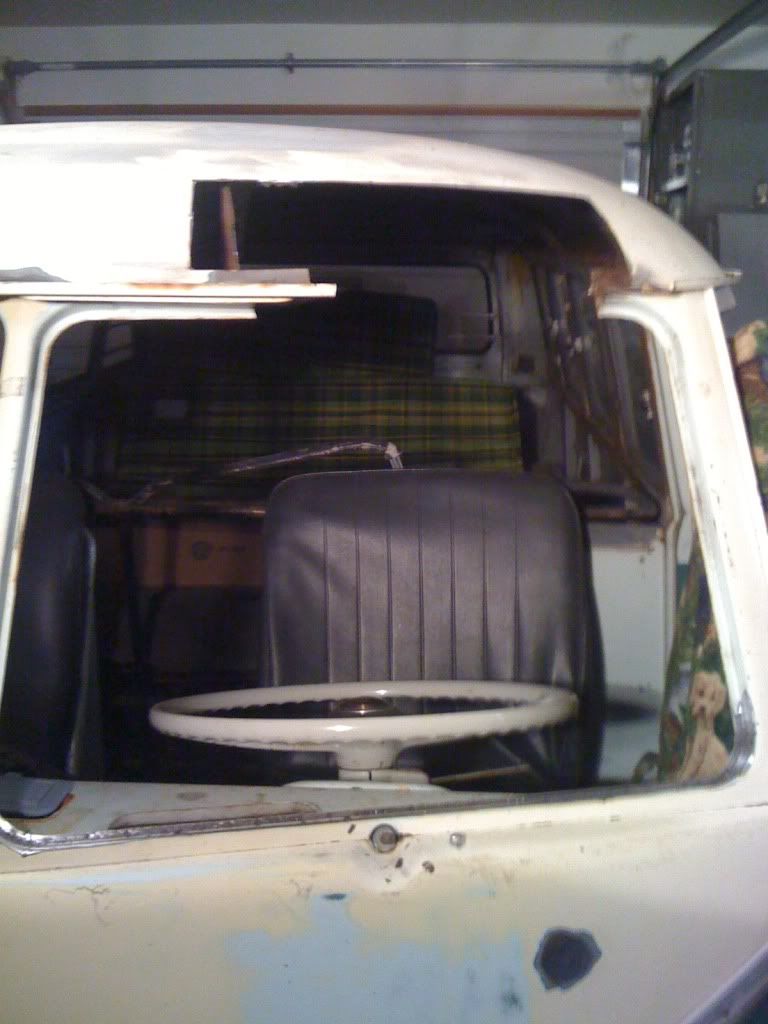
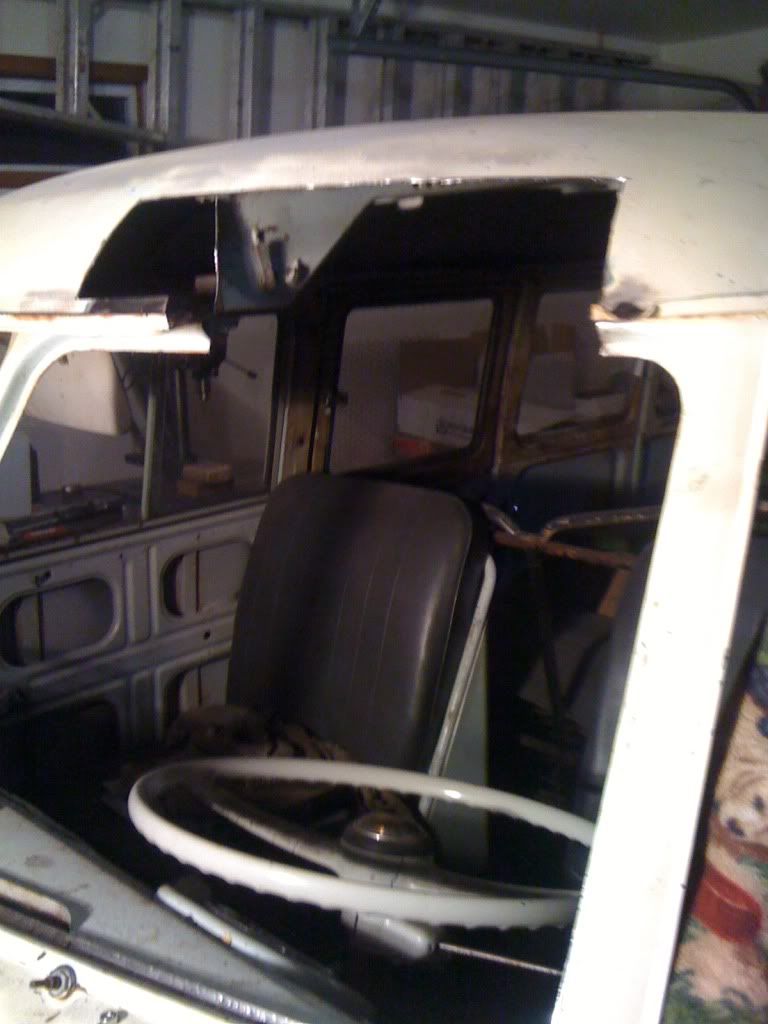


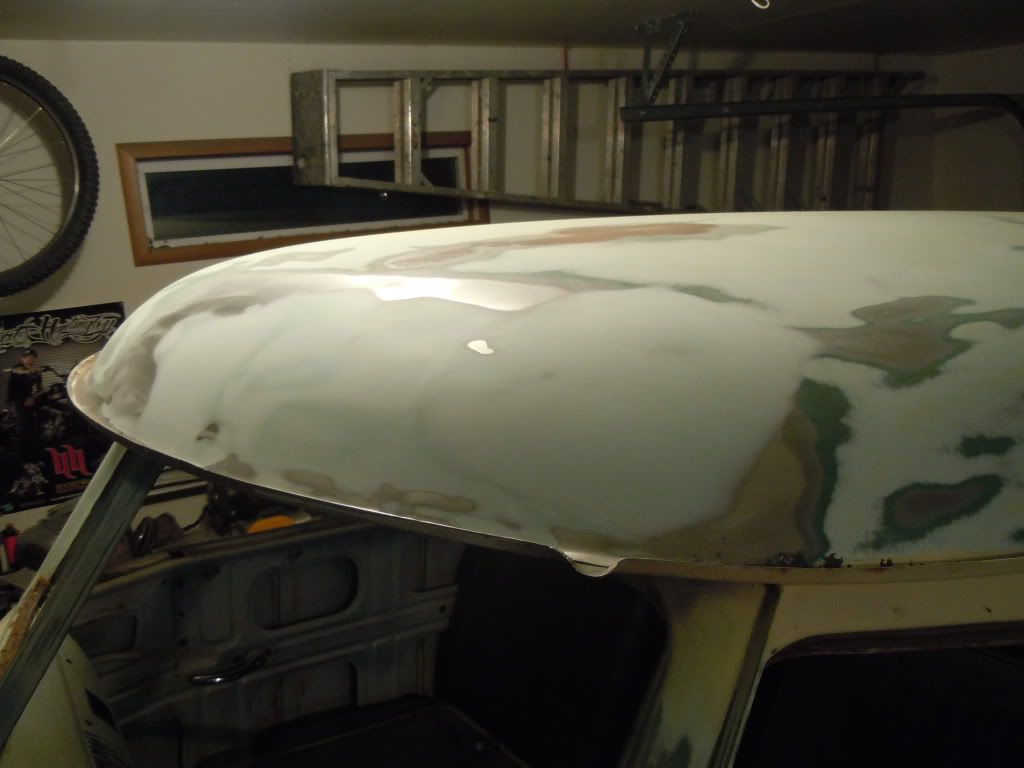
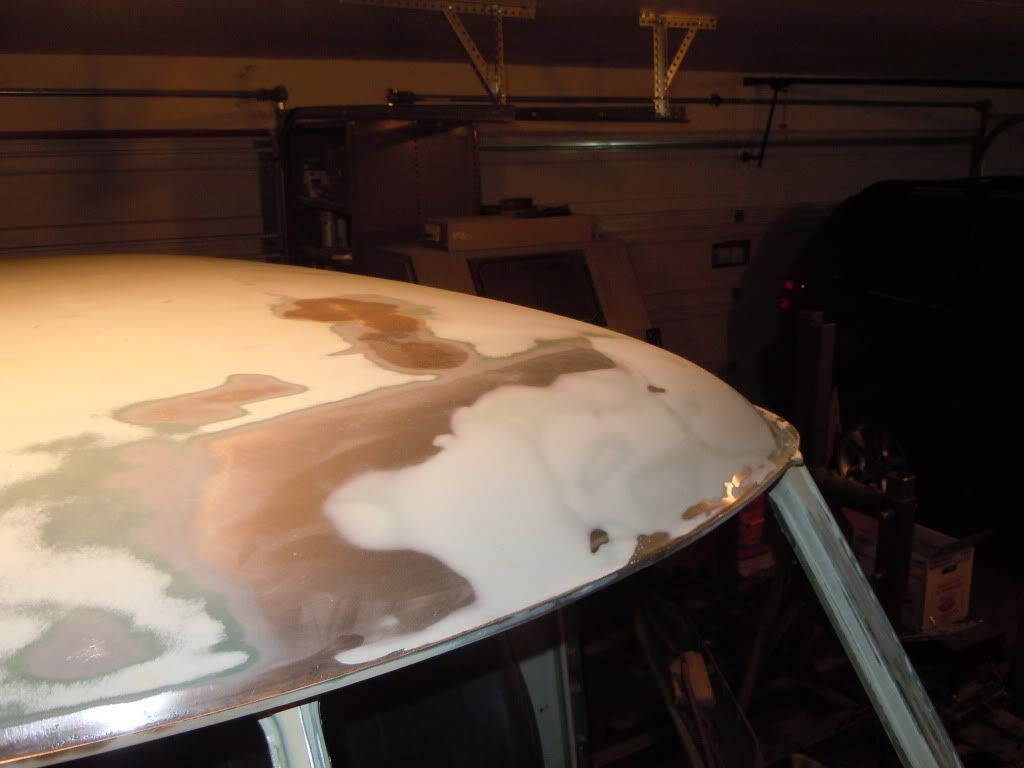
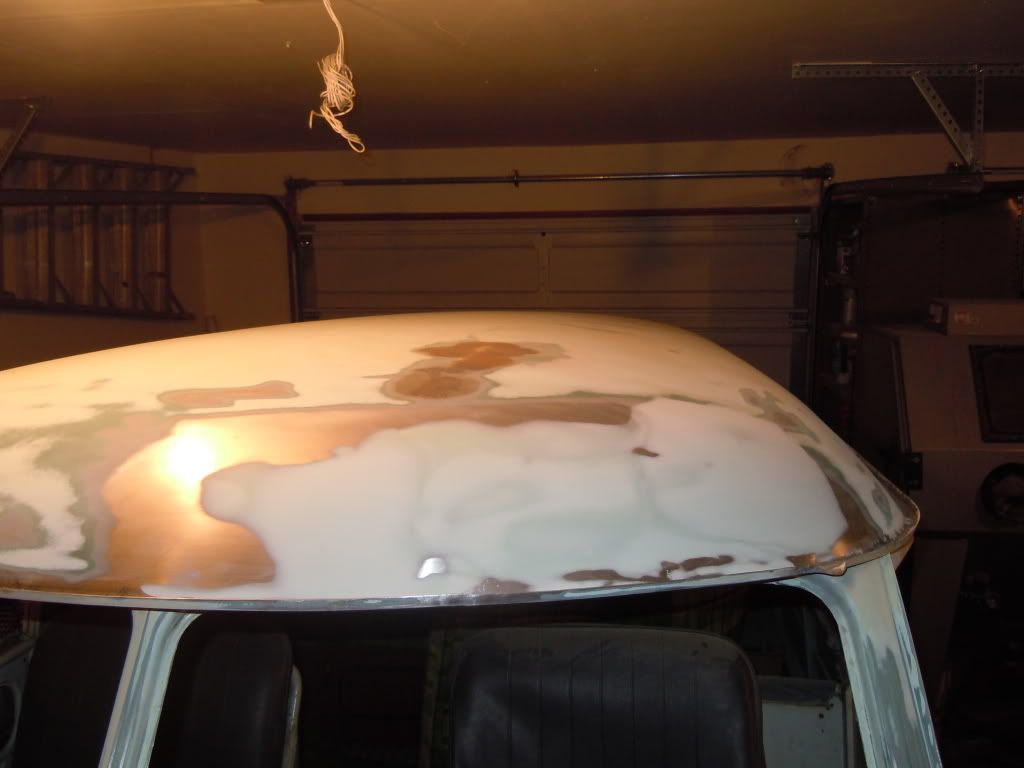
Now for the nose....
Here is the before pics.
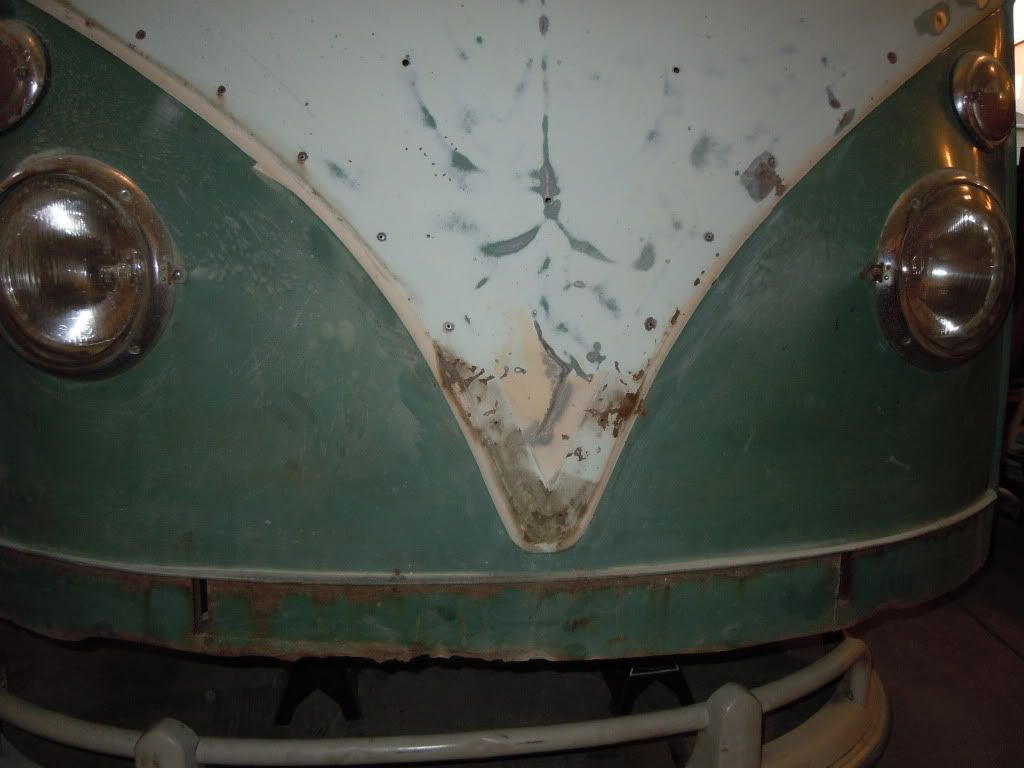
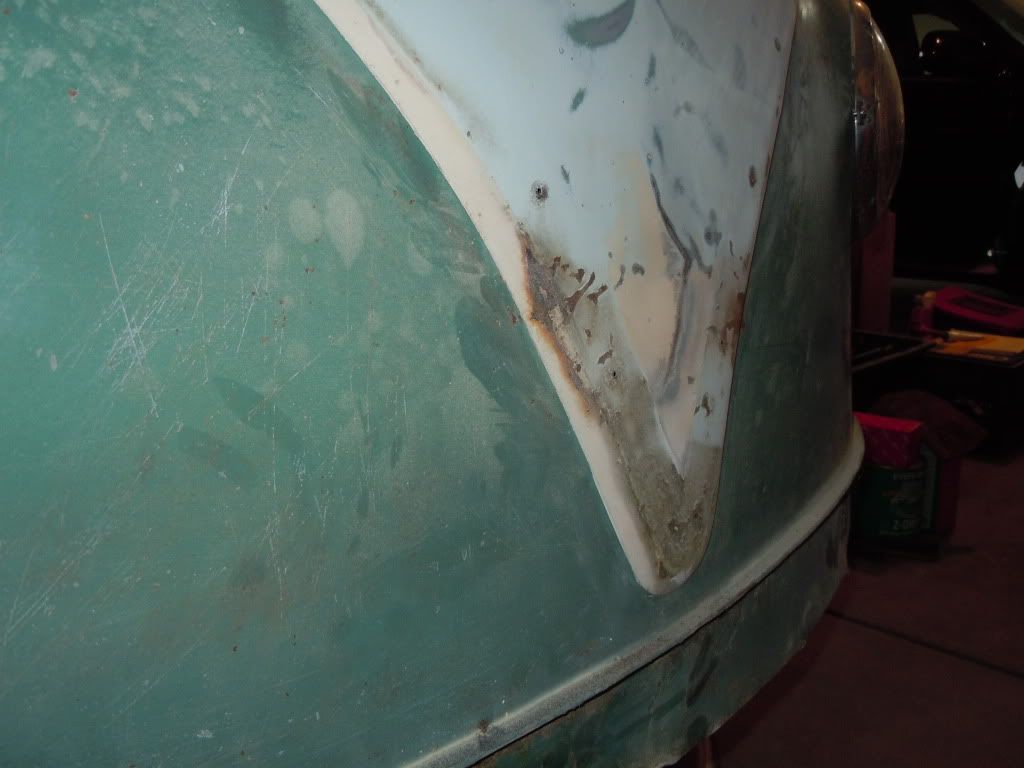
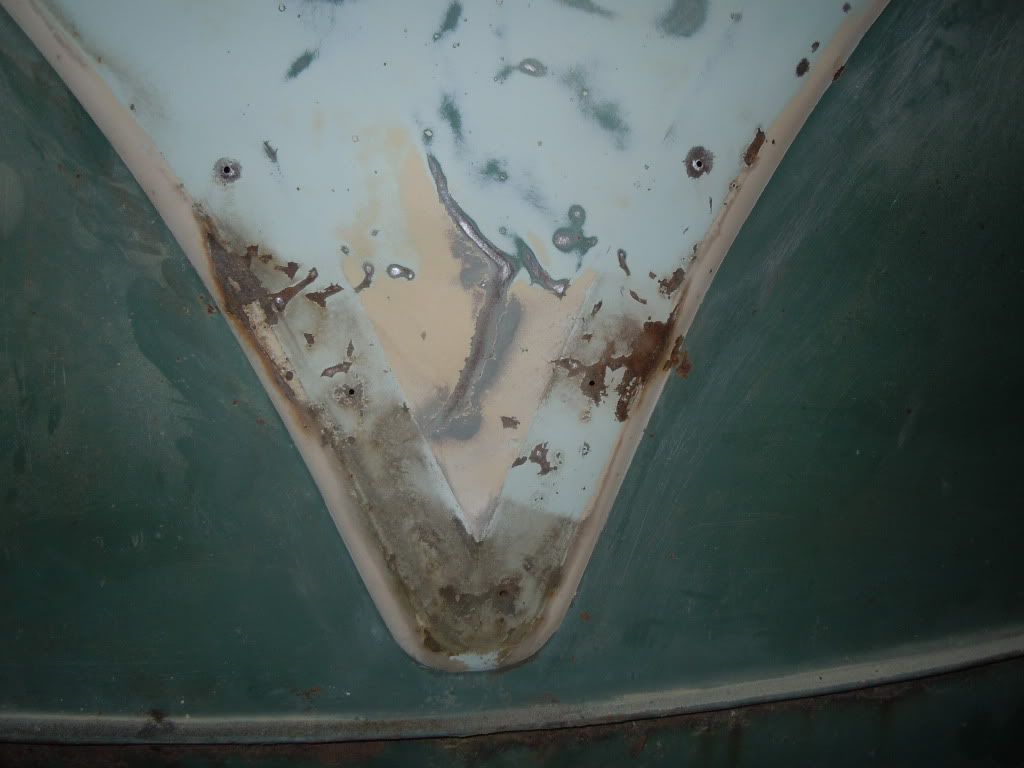
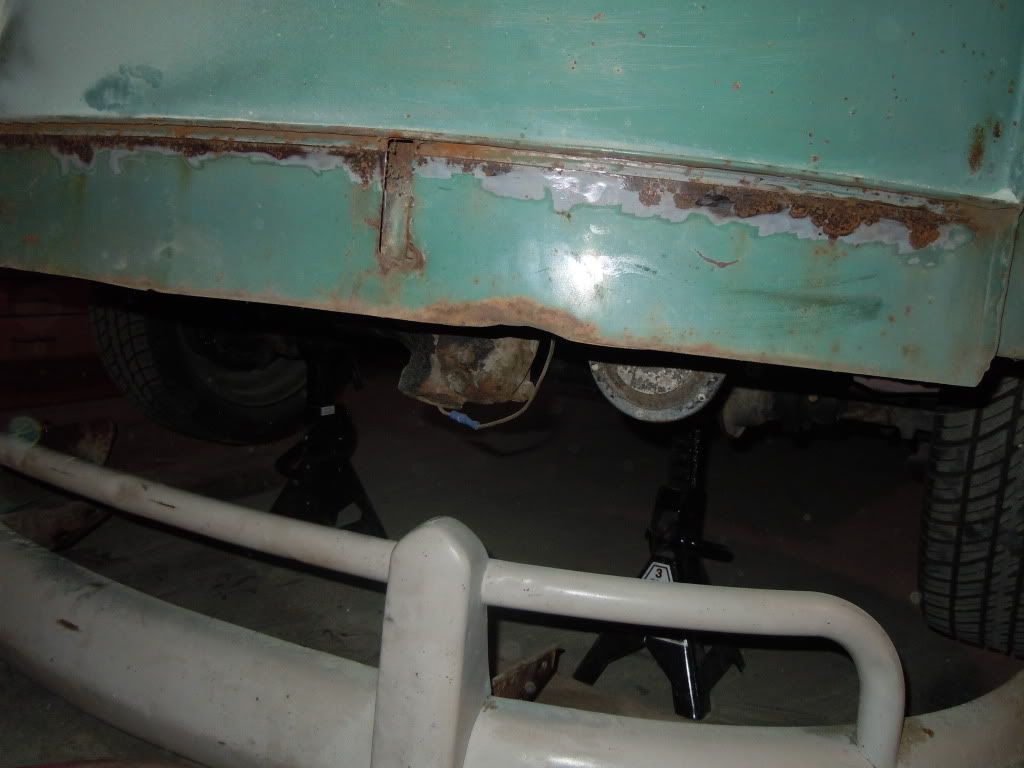
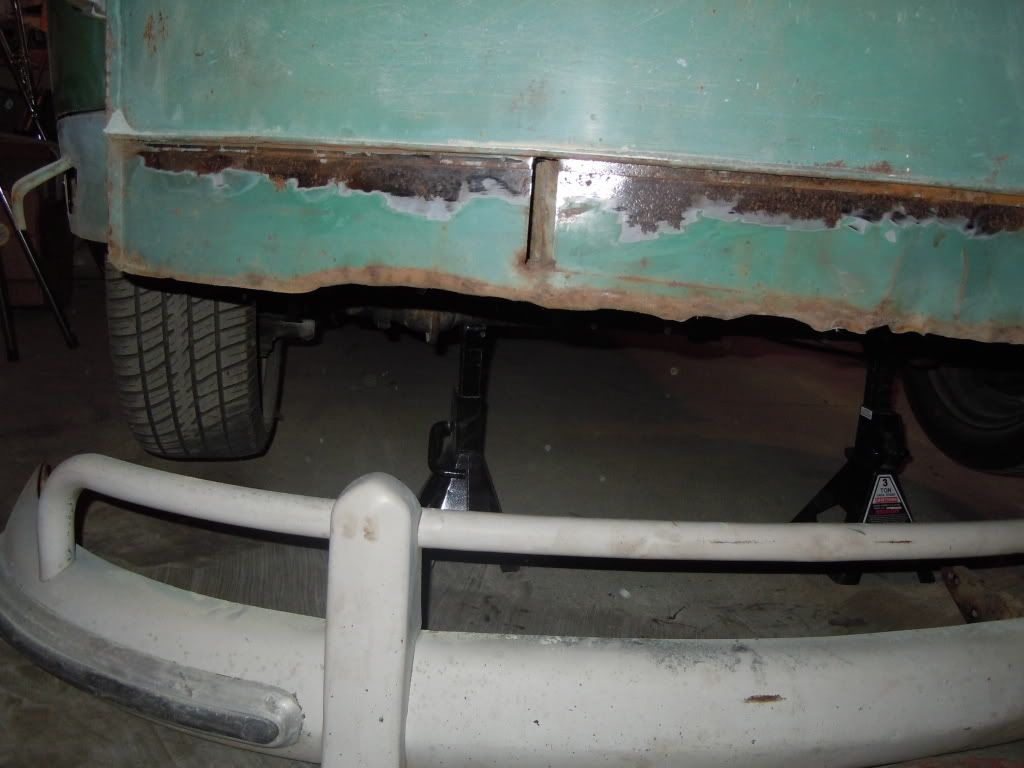
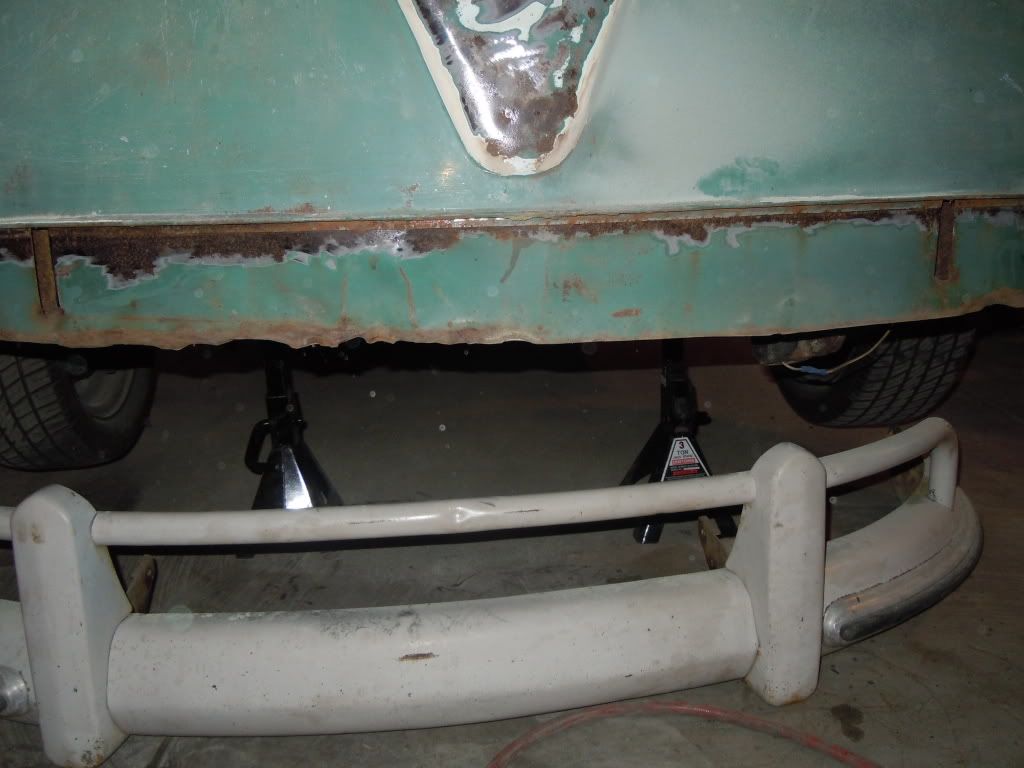 |
|
| Back to top |
|
 |
ONEBADBUG

Joined: 25 Oct 2003
Posts: 440
Location: Spokane
|
 Posted: Sun Aug 07, 2011 12:50 pm Post subject: Posted: Sun Aug 07, 2011 12:50 pm Post subject: |
 |
|
| Have you tried using .024 wire? |
|
| Back to top |
|
 |
Troy Hobbs

Joined: 05 Aug 2003
Posts: 766
|
 Posted: Sun Aug 07, 2011 4:28 pm Post subject: 1965 VW 13W Deluxe Posted: Sun Aug 07, 2011 4:28 pm Post subject: 1965 VW 13W Deluxe |
 |
|
Looking good. I would strip back the paint a little further in spots, you don't want the filler over the paint, just prepped bare metal or prepped epoxy
_________________
TROY
current RCVW club Pres
ARR #3 |
|
| Back to top |
|
 |
motofly196
Joined: 23 Jun 2008
Posts: 442
Location: Medical Lake
|
 Posted: Sun Aug 07, 2011 5:25 pm Post subject: Posted: Sun Aug 07, 2011 5:25 pm Post subject: |
 |
|
Duke...the repairs look great so far! Keep it up! I'm with ONEBADBUG though...get yourself some .024 wire, you're grinder wheel bill with thank you!  You managed to do a pretty good job on grinding it out though, doesn't look warped from heat in the pics. My friends were using .024 EZ grind wire in Hawaii, but I can't seem to find it here yet. The guy at Norco looked at me like I was speaking a different language. I might try to look on-line for my next project....it melts away like butter, and doesn't get too hot to warp panels. Looks good! You managed to do a pretty good job on grinding it out though, doesn't look warped from heat in the pics. My friends were using .024 EZ grind wire in Hawaii, but I can't seem to find it here yet. The guy at Norco looked at me like I was speaking a different language. I might try to look on-line for my next project....it melts away like butter, and doesn't get too hot to warp panels. Looks good!
Scott |
|
| Back to top |
|
 |
Doodoob
Joined: 06 Jul 2011
Posts: 98
Location: Spokane, WA
|
 Posted: Sun Aug 07, 2011 6:52 pm Post subject: Posted: Sun Aug 07, 2011 6:52 pm Post subject: |
 |
|
| I feel your pain..........I have the same Miller 180. Trying to weld on 40 YO sheetmetal is not fun. I had to do a bit of it on my 67. However I didnt do the filler and stuff.........I took it to a shop. My mistake, wont do that again. Definately need to get the 24 wire and have the metal clean as possible. It is looking great, so keep it up. |
|
| Back to top |
|
 |
dukebradbury

Joined: 13 Oct 2009
Posts: 185
Location: Spokane 5-mile
|
 Posted: Sun Aug 07, 2011 7:58 pm Post subject: Re: 1965 VW 13W Deluxe Posted: Sun Aug 07, 2011 7:58 pm Post subject: Re: 1965 VW 13W Deluxe |
 |
|
| Troy Hobbs wrote: | | Looking good. I would strip back the paint a little further in spots, you don't want the filler over the paint, just prepped bare metal or prepped epoxy |
Thanks. I still have some sanding to do. I had applied the filler way further than I needed too. Once I do my finish sanding before epoxy I will make sure that the filler doesn't lie above the paint.
I did switch over to the .024" wire since those repairs that were pictured. It made things a lot easier.
I appreciate all the input. It is information like this that has got me this far.
I did get to do some pulling on the front nose today. Pretty happy with it so far. |
|
| Back to top |
|
 |
hubcapt

Joined: 25 Sep 2009
Posts: 666
|
 Posted: Sun Aug 07, 2011 9:34 pm Post subject: Posted: Sun Aug 07, 2011 9:34 pm Post subject: |
 |
|
I have better luck actually running .30 and running the highest temp on my little lincoln, makes such a nice capillary action that there isn't much grinding to be done.
Also grinding discs stink for grinding spot welds, a 60 grit flap disc works a lot faster, got to watch for the heat being generated but same with a grinding disc
My .02 |
|
| Back to top |
|
 |
dukebradbury

Joined: 13 Oct 2009
Posts: 185
Location: Spokane 5-mile
|
 Posted: Sun Aug 07, 2011 9:44 pm Post subject: Posted: Sun Aug 07, 2011 9:44 pm Post subject: |
 |
|
| hubcapt wrote: | I have better luck actually running .30 and running the highest temp on my little lincoln, makes such a nice capillary action that there isn't much grinding to be done.
Also grinding discs stink for grinding spot welds, a 60 grit flap disc works a lot faster, got to watch for the heat being generated but same with a grinding disc
My .02 |
Flap discs are the way to go for sure! |
|
| Back to top |
|
 |
dukebradbury

Joined: 13 Oct 2009
Posts: 185
Location: Spokane 5-mile
|
 Posted: Wed Aug 10, 2011 11:36 am Post subject: Posted: Wed Aug 10, 2011 11:36 am Post subject: |
 |
|
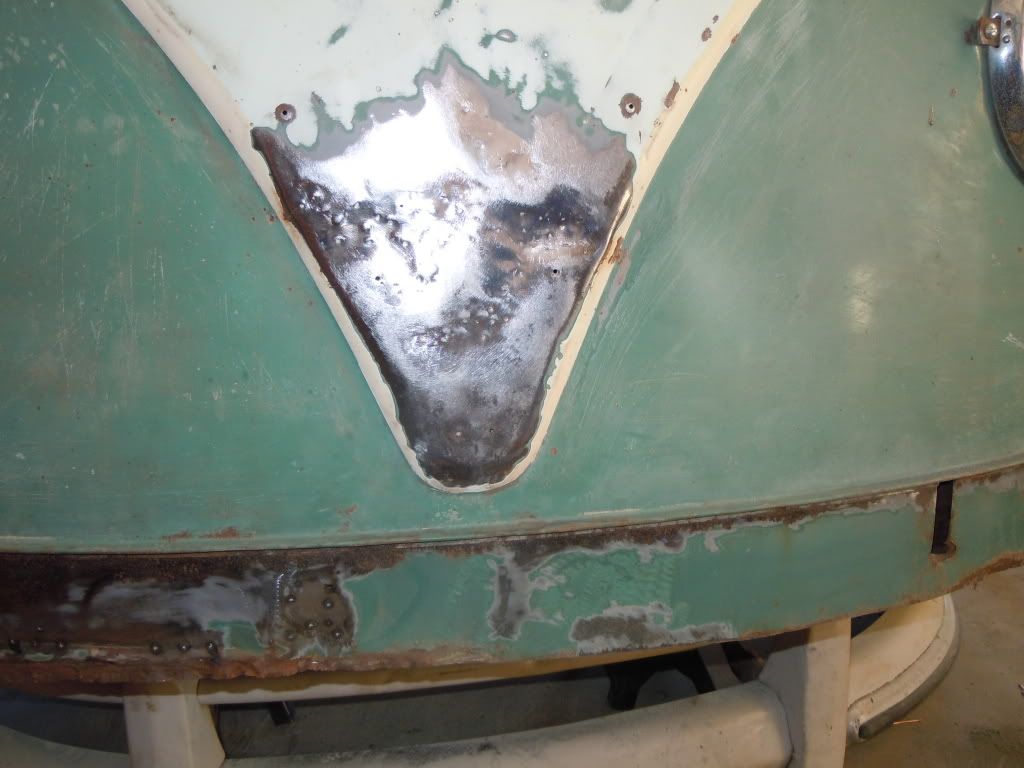
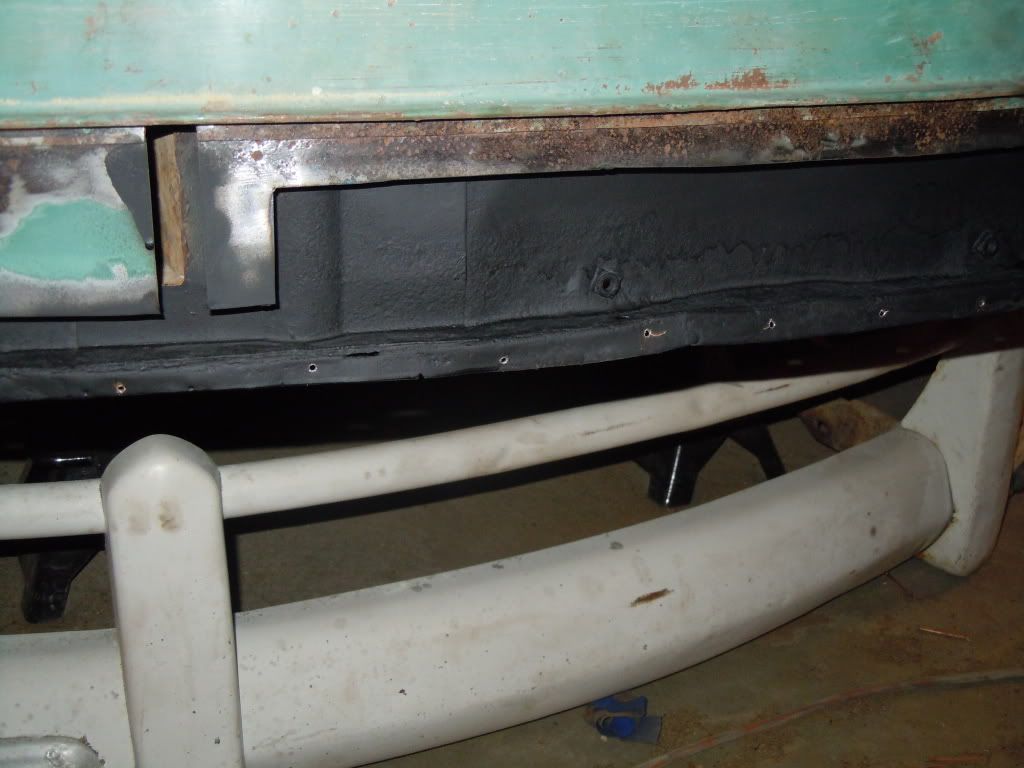
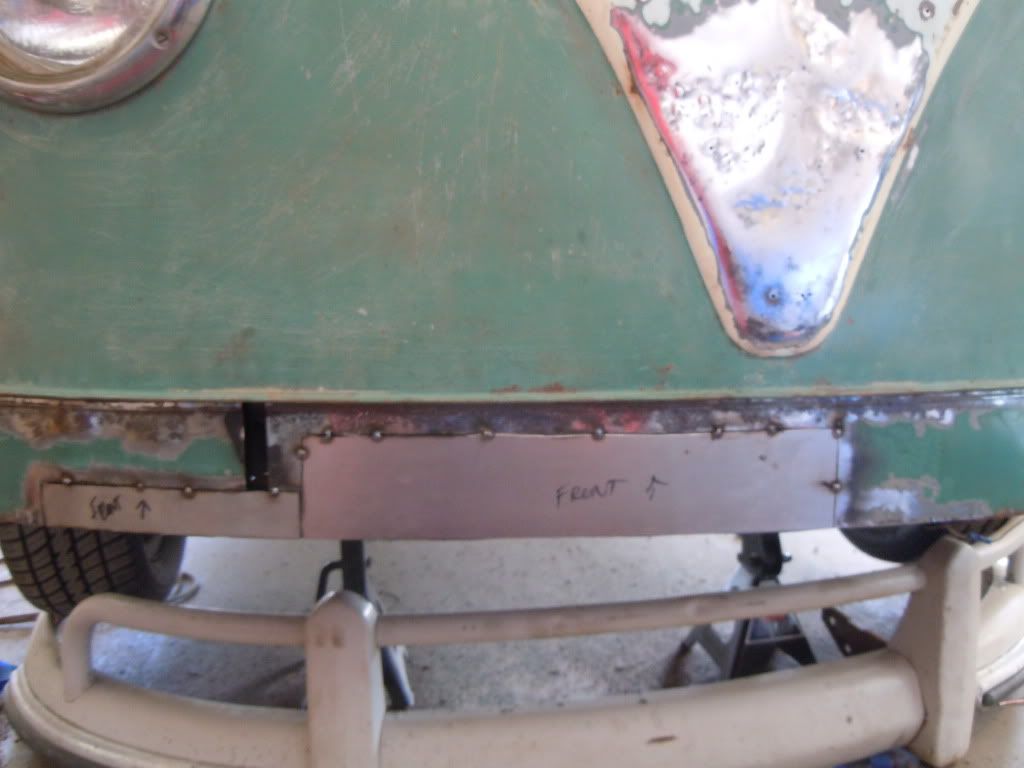
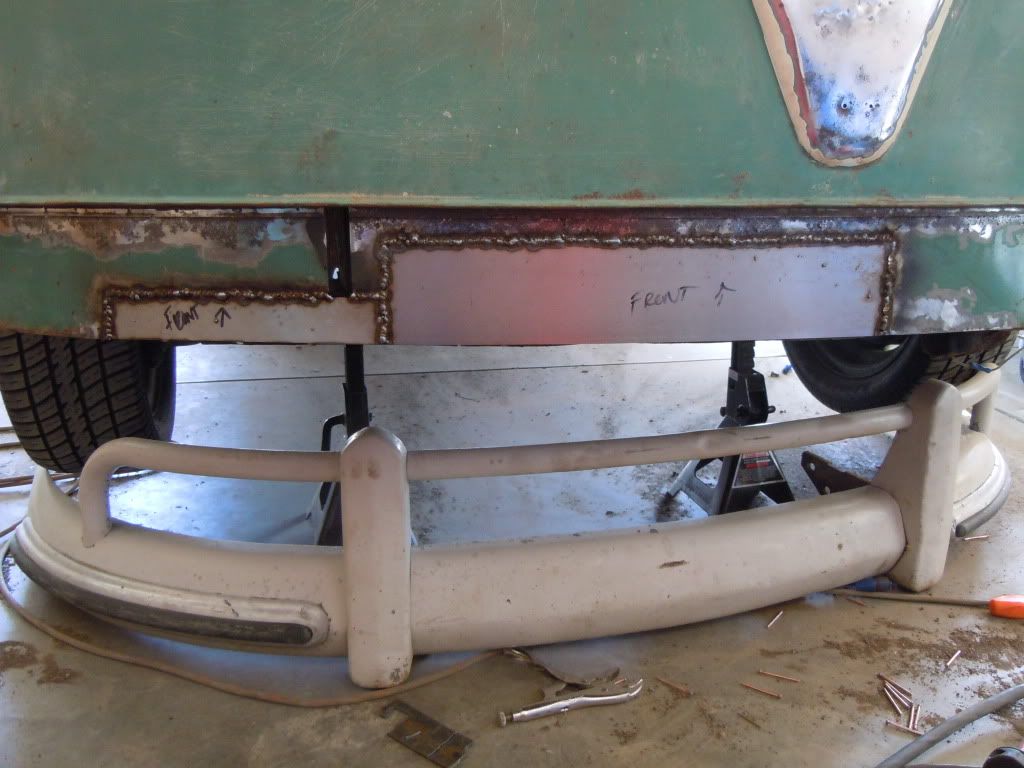
A little more progress on the from nose.
Did some more work with the stud welder and slide hammer. It looks pretty good. The dent on the right side of the lower nose wont come out any better. It's not too bad and it actually looks worse in the picture. Better than when I started.
Tried pulling out the dents and straightening the lower front nose skin (part behind the bumper). Wasnt happening! 
Decided to replace it. Removed only what I thought I needed to.
 |
|
| Back to top |
|
 |
dukebradbury

Joined: 13 Oct 2009
Posts: 185
Location: Spokane 5-mile
|
 Posted: Thu Aug 11, 2011 5:07 pm Post subject: Posted: Thu Aug 11, 2011 5:07 pm Post subject: |
 |
|
Little more work done last night.
 |
|
| Back to top |
|
 |
motofly196
Joined: 23 Jun 2008
Posts: 442
Location: Medical Lake
|
 Posted: Thu Aug 11, 2011 7:39 pm Post subject: Posted: Thu Aug 11, 2011 7:39 pm Post subject: |
 |
|
Lookin' Great Duke! You gonna get this thing out while the weather is still good? You're doing winter time work now!!! Save that chit' for the winter, drive it now!! 
Scott |
|
| Back to top |
|
 |
dukebradbury

Joined: 13 Oct 2009
Posts: 185
Location: Spokane 5-mile
|
 Posted: Thu Aug 11, 2011 7:48 pm Post subject: Posted: Thu Aug 11, 2011 7:48 pm Post subject: |
 |
|
Scott, that's the truth!!!!
Every time I turn around I find something else and think "might as well fix it while I'm there.."! 
I also pulled out all my side pop-outs to blast them and paint them. In my opinion, only 2 are salvageable. Now my bus is window-less. |
|
| Back to top |
|
 |
dukebradbury

Joined: 13 Oct 2009
Posts: 185
Location: Spokane 5-mile
|
 Posted: Fri Aug 10, 2012 7:44 pm Post subject: Posted: Fri Aug 10, 2012 7:44 pm Post subject: |
 |
|
Been too long!!!
Here is a couple update shots.
Removed the front floor. I had some rust up front and a couple holes. I was going to patch them with repair panels, but the holes were in the middle. Got a complete floor from Gerson.
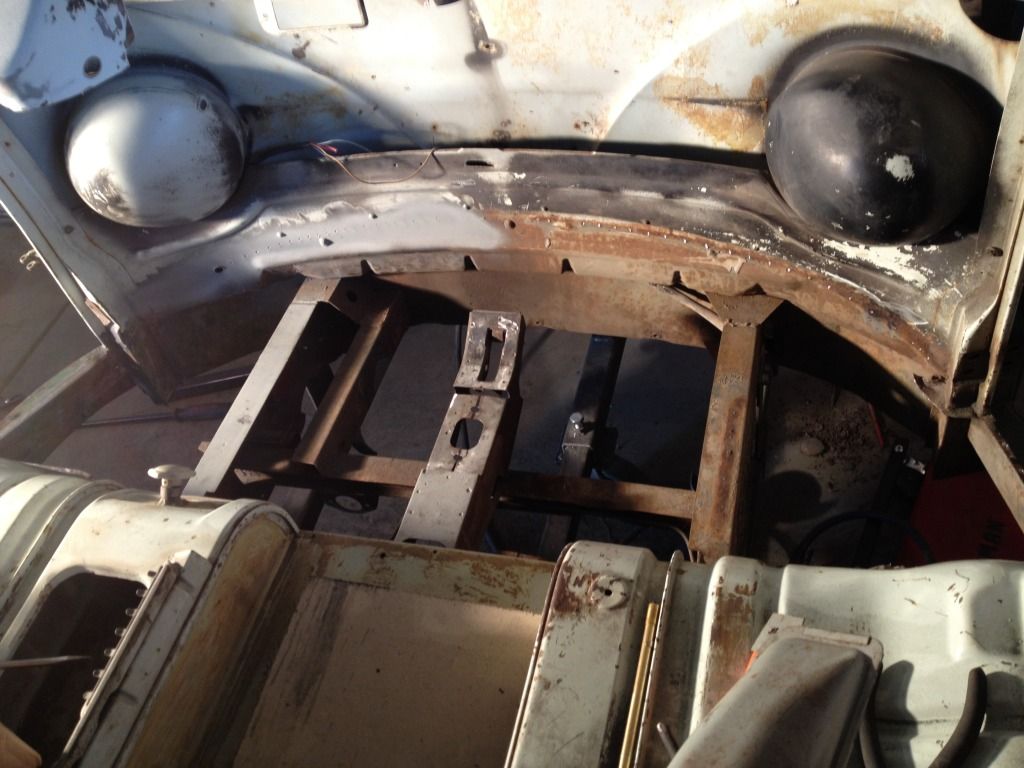
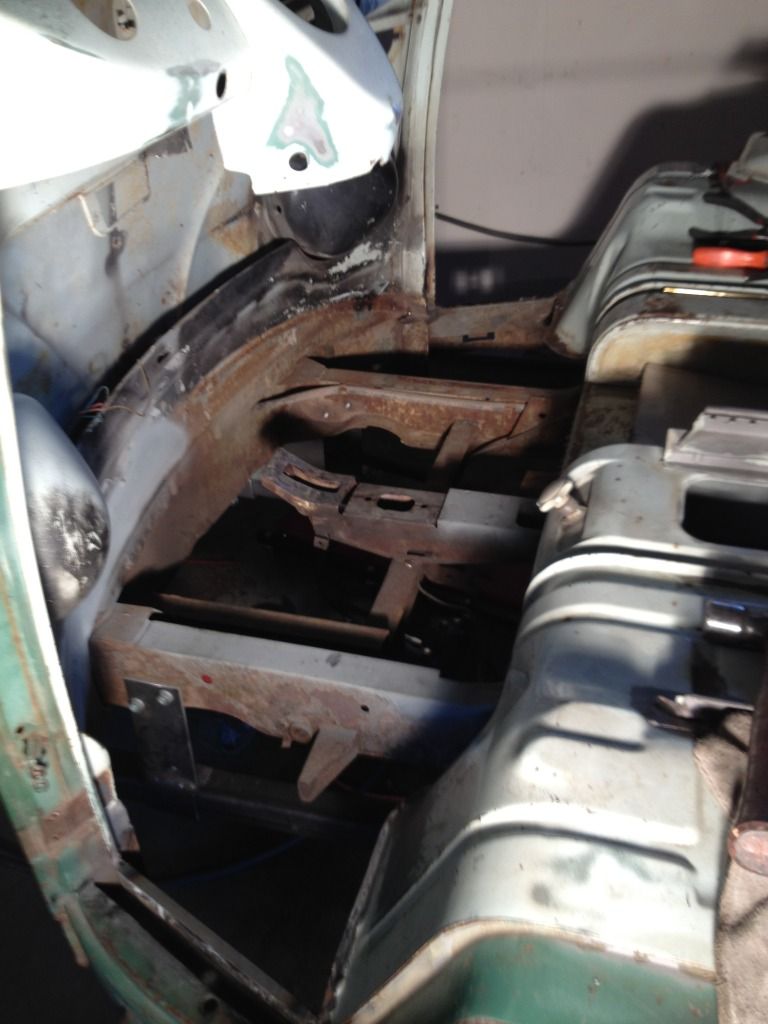

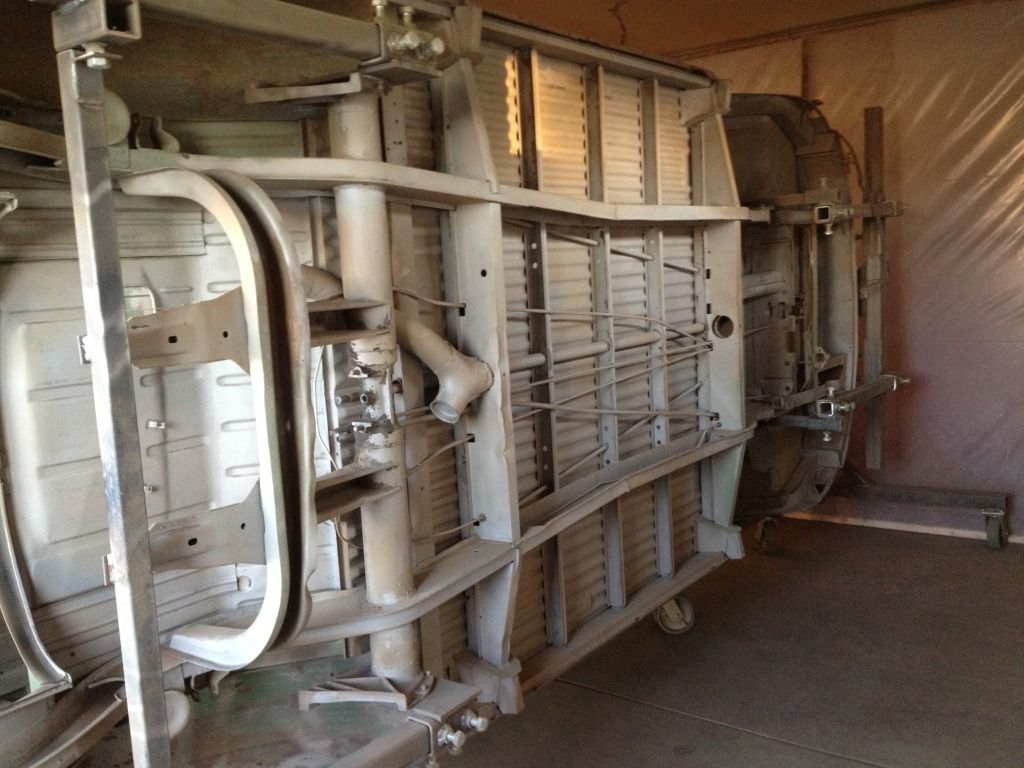
It is currently on the rotisserie. Man it makes it easy to sandblast the bottom!! If it didnt take forever, and wasn't dirty as hell, and hot as hell, and a pain in the ass, sandblasting wouldn't be that bad 

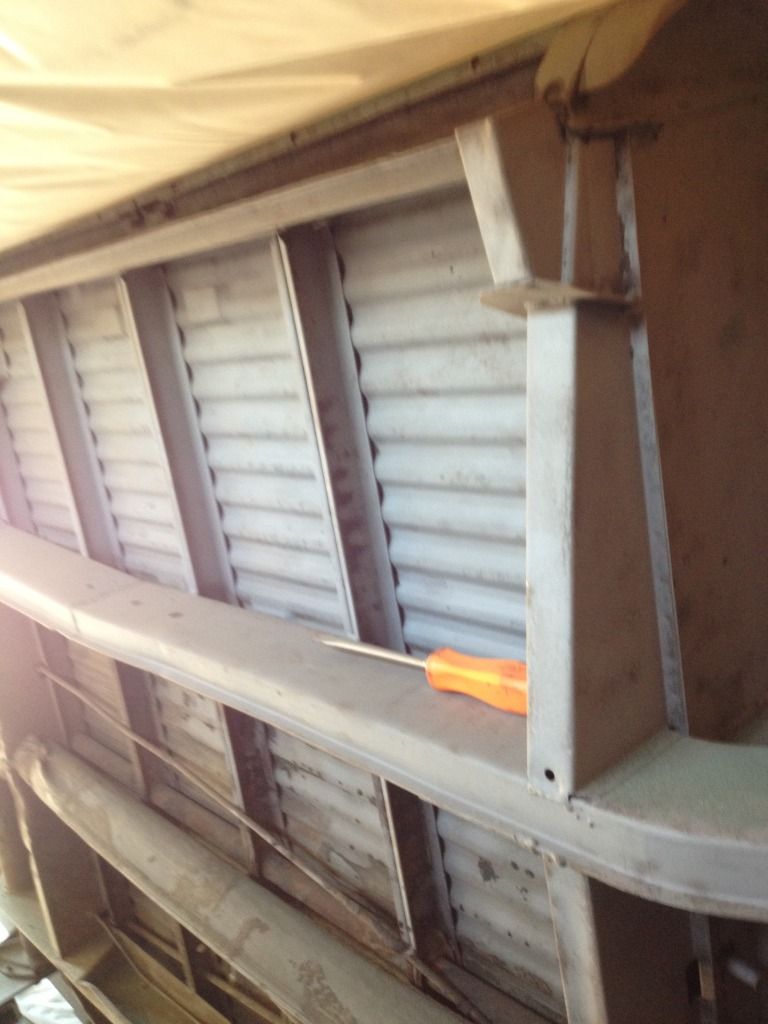
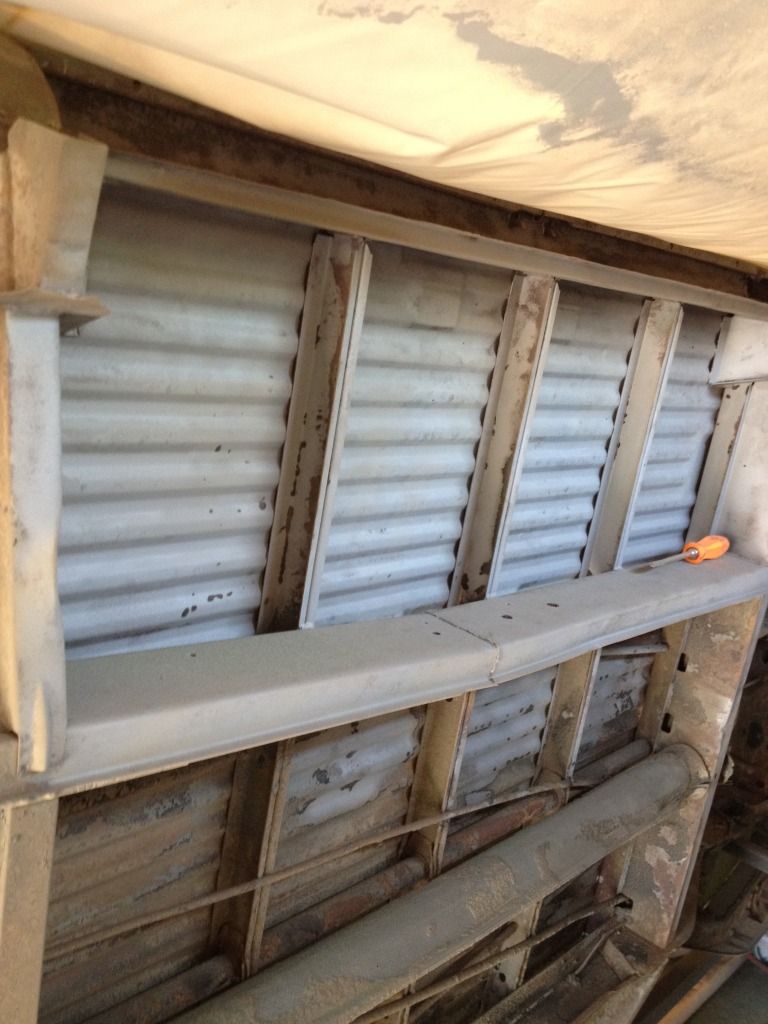
Almost done blasting the bottom. Had to remove the heater tube. Probably going to replace it with exhaust tubing. After I get it all done, gonna POR15 the bottom.
 |
|
| Back to top |
|
 |
Doodoob
Joined: 06 Jul 2011
Posts: 98
Location: Spokane, WA
|
|
| Back to top |
|
 |
dukebradbury

Joined: 13 Oct 2009
Posts: 185
Location: Spokane 5-mile
|
 Posted: Sun Aug 12, 2012 3:04 pm Post subject: Posted: Sun Aug 12, 2012 3:04 pm Post subject: |
 |
|
Thanks !
I already have some POR15, so I'm going to give it a try. I did look into the Masterseries and wondered how it would work. Sounds like you like it. There was a considerable savings on the Masterseries. Will have to order some up next time. |
|
| Back to top |
|
 |
|


